30-Second Menu Makeover: AI Food Photo Speed Test
Introduction: A stopwatch, four dishes, and a lunch rush
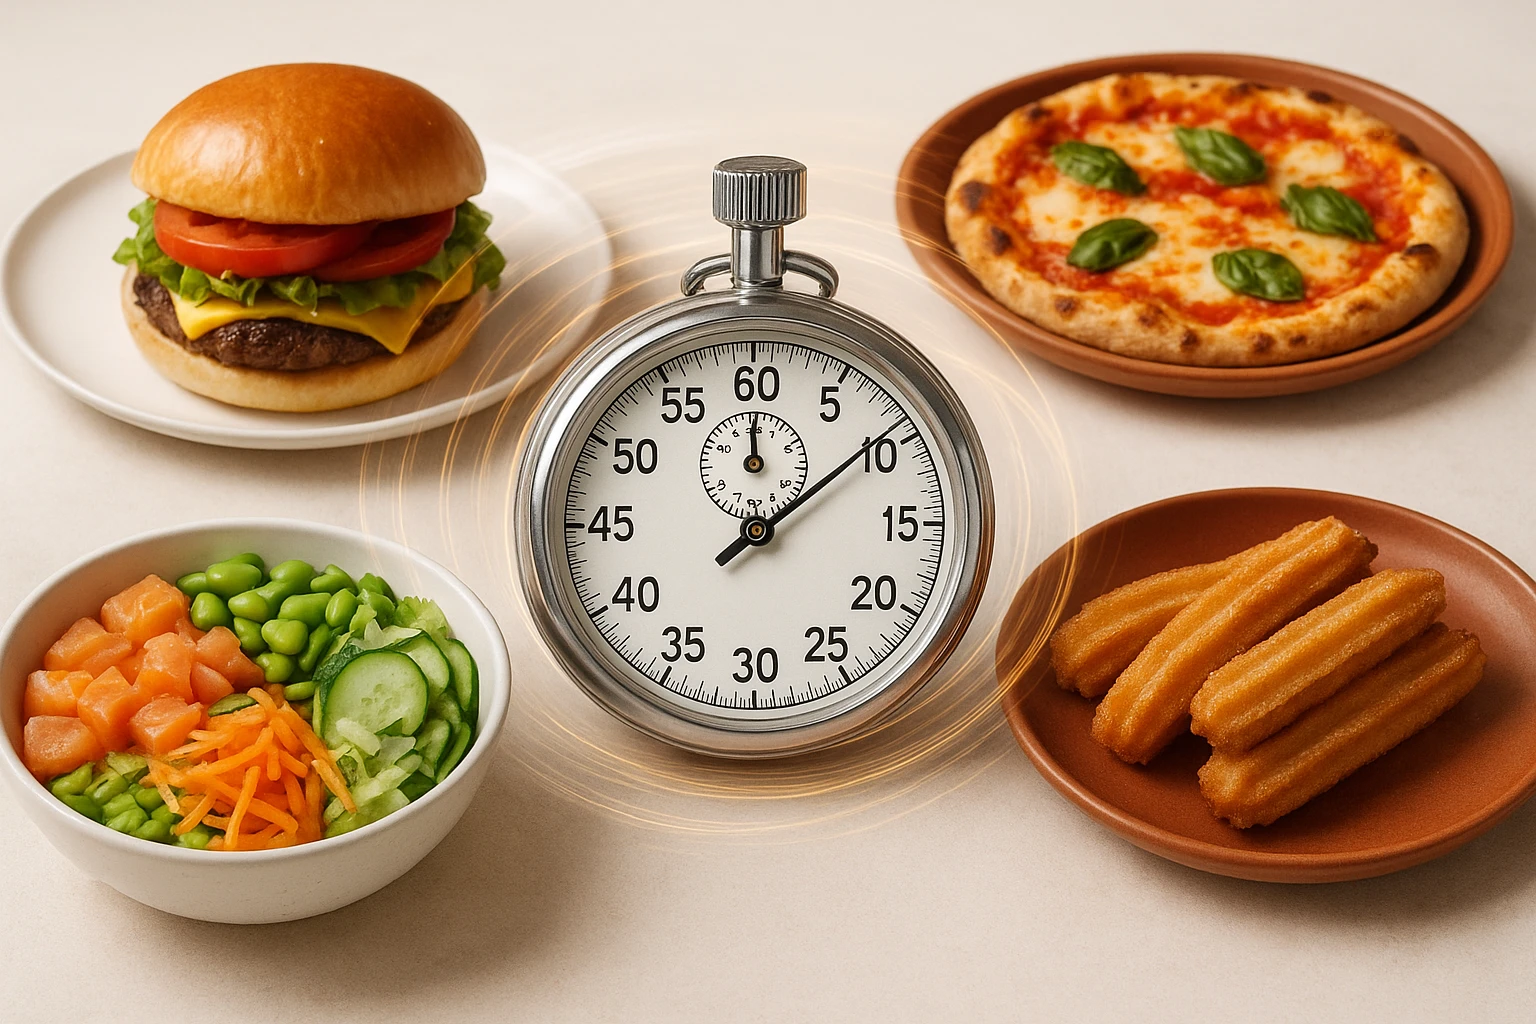
It’s 10:35 a.m. You’re the GM of a 60-seat neighborhood spot. The chef just finalized a seasonal smash burger, a margherita pizza update, a salmon poke bowl, and a churros dessert. You need menu and delivery-app photos by 4 p.m., and there’s no chance you’re booking a photographer today. We grabbed an iPhone, opened Yummify, and ran a literal stopwatch to see how quickly AI food photography can deliver real, publishable images.
Here’s how we tested:
- Dishes: smash burger (reference photo), margherita pizza (reference photo in bad lighting), salmon poke bowl (text prompt only), churros (reference photo, messy sugar).
- Environments: two reusable branded environments we set up in advance-“Bright Diner” and “Italian Rustic.”
- Timing rules: we timed from click of “Generate” to first usable image (standard quality). If we used a quality upgrade, we timed that separately.
- Scoring: we noted what worked, what looked “AI-ish,” and when we had to iterate.
Our goal wasn’t perfection. It was, “Can a manager publish decent, brand-consistent photos during one prep shift?” Below, you’ll see stopwatch logs, side-by-side results, and clear pros/cons. If you’ve ever paid $3,000+ and waited two weeks for a 20-dish shoot, this is a different way to work-faster, cheaper, and good enough for menus and apps most of the time.
Summary: We set up a timed, real-world test with four dishes and two branded environments to see if AI can deliver usable photos during a single prep shift.
Why speed matters: dollars, deadlines, and delivery apps
Traditional food photography for 20 dishes commonly runs $3,000-$6,000 and takes 2-4 weeks (photographer $500-$1,000 per session, stylist $400-$800, 4-hour shoot yields ~6 dishes). If a fall menu hits mid-October, those photos may not be live until November. Seasonal items lose momentum, and delivery app conversion suffers when you keep placeholder photos.
Two realistic examples:
- Pizza chain with 8 locations: if DoorDash conversion lifts just 8% after swapping low-light restaurant menu photos for styled ones, and each store does $1,200/day on delivery, that’s ~$7,000 extra revenue/month chain-wide. Mechanism: clearer toppings, consistent cropping, and appetizing lighting reduce hesitation and increase add-to-cart.
- Independent bistro: chef changes sides weekly; waiting 2 weeks for a shoot means you never test photos for A/B learning. With AI food styling, you can publish two styles this week and pick a winner next week. Mechanism: test contrast and background color to see which version earns higher click-through on the menu grid.
Inconsistency also costs. A chain switching photographers gets “rustic” interpreted five different ways. Yummify’s branded environments apply the same AI food photography lighting and styling logic every time. Net effect: speed plus consistency. Even if you still hire a photographer quarterly for hero work, using AI for day-to-day menu upkeep keeps you from shipping late-or not shipping at all.
Summary: Delays and inconsistency are expensive. Faster, consistent photos impact delivery conversion and let you test style choices week-to-week without waiting on a shoot.
Hands-on speed test: four dishes, one hour, real timers
We ran Yummify on four dishes with a stopwatch. Times will vary by internet speed and complexity, but this Yummify review reflects what a manager can expect on a prep-day sprint.
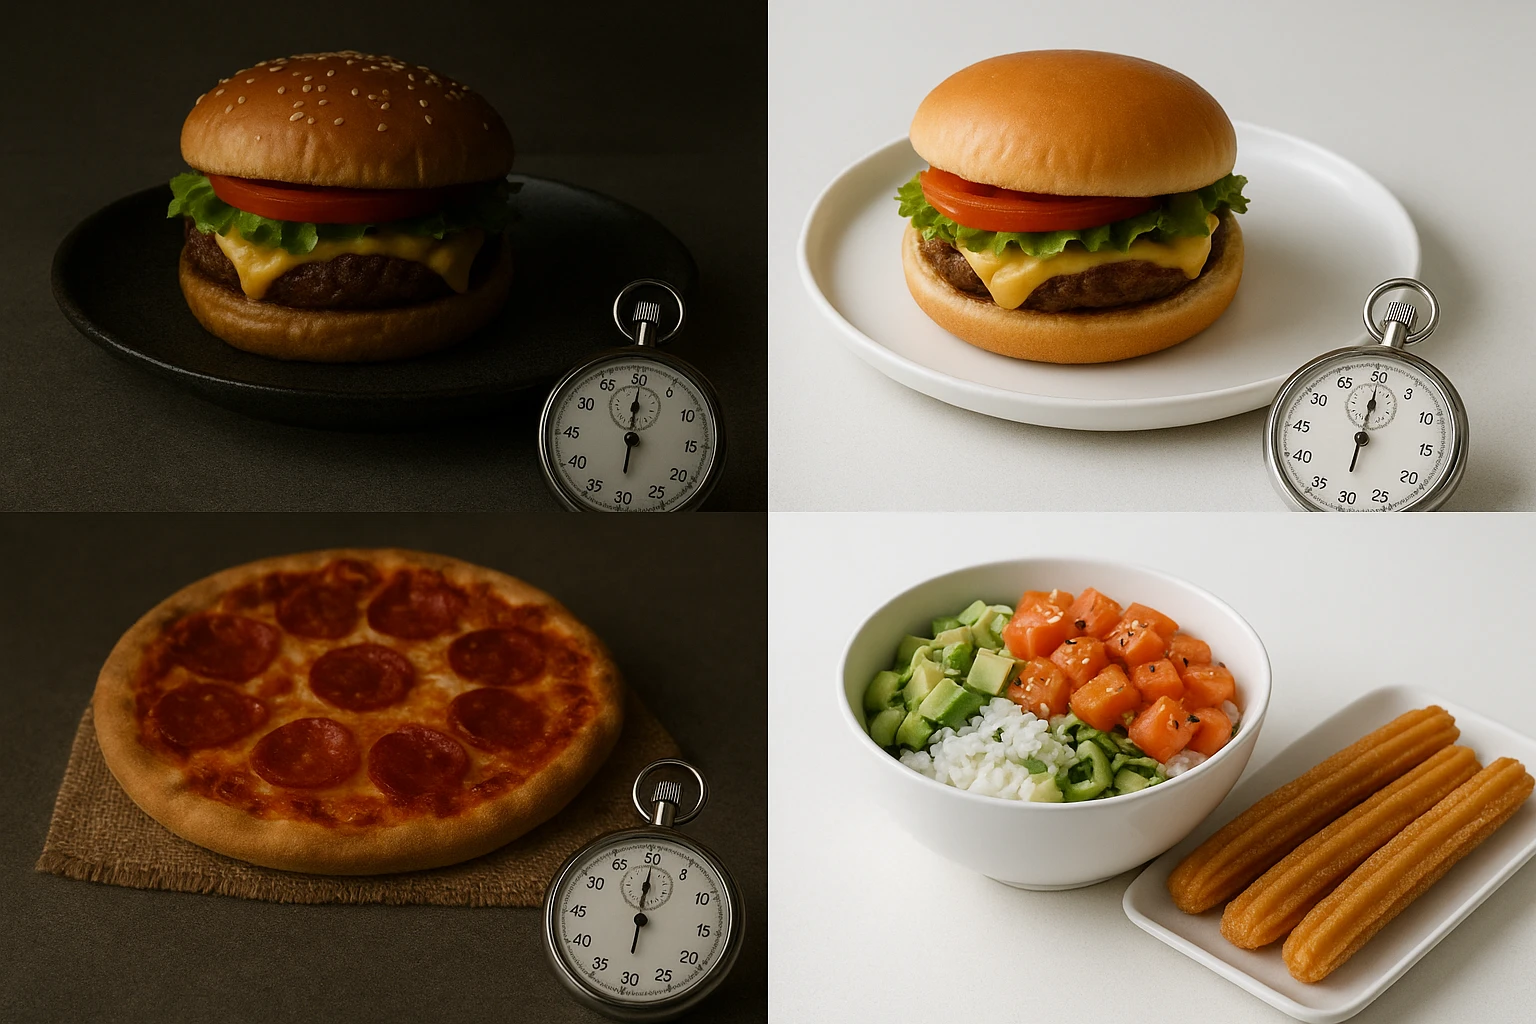
Dish 1: Smash Burger (reference photo + “Bright Diner”)
- Upload to first usable image (standard): 0:42
- Two more variations: +0:38
- Quality upgrade (high-res): +0:54
- Observations: buns looked glossy and realistic; cheese melt looked great. One variation added an extra pickle slice-fine for socials, but not for strict menu accuracy. Quick fix: lock “no extra toppings” in the prompt.
Dish 2: Margherita Pizza (reference photo, dim kitchen light + “Italian Rustic”)
- First usable image: 0:51
- Re-roll to reduce unrealistic cheese stretch: +0:35
- Quality upgrade (medium): +0:41
- Observations: crust blistering looked authentic; basil placement varied slightly. If you need exact topping layout, expect 1-2 extra re-rolls.
Dish 3: Salmon Poke Bowl (text-only + Prompt Enhancement)
- Prompt enhance to render: 1:18
- Tweak color temperature warmer: +0:20
- Observations: bright, clean overhead shot; sesame seed density varied. Text-only is slower than using a photo but removes the need to replate.
Dish 4: Churros with Chocolate (reference photo + “Bright Diner”)
- First usable image: 0:38
- Add ceramic cup prop for dipping sauce: +0:29
- Observations: sugar granules looked crisp; occasional extra crumbs appeared-cosmetic, but check for over-embellishment before menus.
Pros we observed:
- Speed: first results in 0:38-1:18; upgraded finals under 2:30 per dish.
- Consistency: AI food photography environments kept lighting and background uniform.
Cons we observed:
- Menu accuracy: occasional garnish inflation; solve with prompt constraints.
- Realism edge-cases: cheese pulls, steam, and ultra-specific prop placement may need an extra pass.
Summary: Across four dishes, first usable images arrived in 0:38-1:18; high-res finals in under 2:30. Strong speed and consistency; watch for garnish accuracy and minor realism quirks.
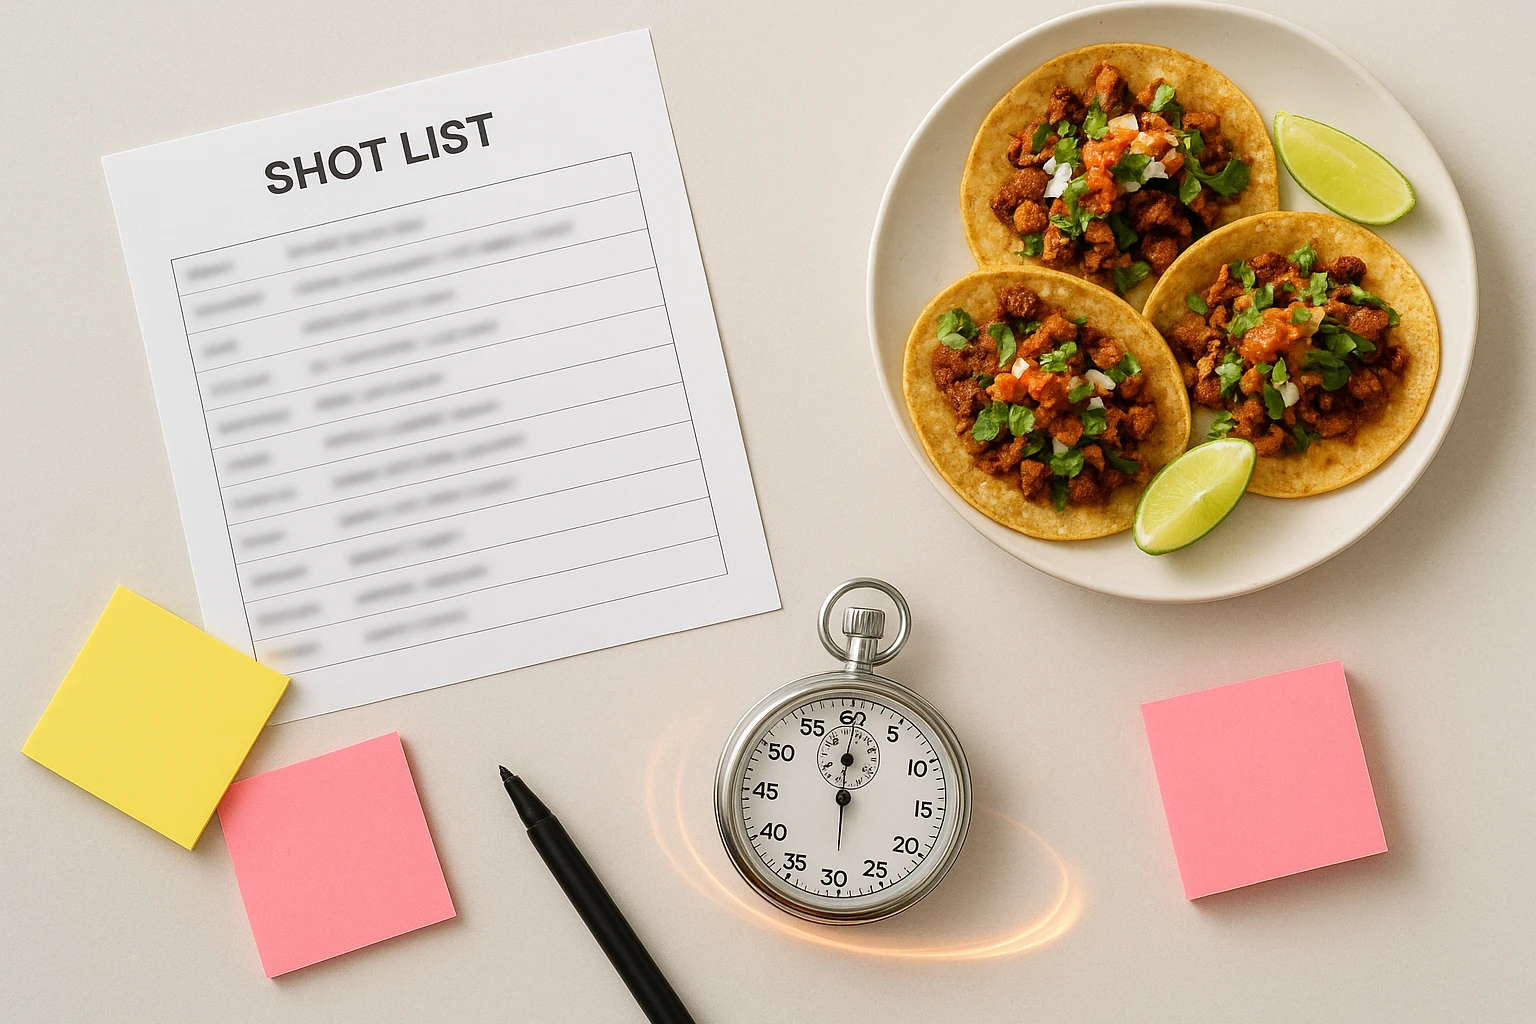
Case study (hypothetical but realistic): 12-item refresh in an afternoon
Scenario: a 3-unit taco concept wants to refresh 12 items before a Saturday sports promo. A local photographer quotes $2,800 and earliest availability in 10 days. The marketing lead chooses Yummify.
Setup (20 minutes):
- Create two branded environments: “Street Food Modern” (bright, bold colors) and “Minimal Neutral” (light gray, clean shadows). Save as presets.
- Build a shot list with 12 items and notes like “no extra lime wedges,” “keep tortilla char visible.”
Production sprint (95 minutes):
- Reference-photo items (8 dishes): average 0:45 to first image; +0:40 for a second angle. Two needed re-rolls (+0:30 each) to tame overzealous toppings. Total ~70 minutes.
- Text-only items (4 dishes): average 1:20 to first image using Prompt Enhancement; +0:25 for temperature or prop tweaks. Total ~25 minutes.
- Quality upgrades: 6 winners upgraded to high-res at +0:50 each (do these while working on the next dish). Total adds ~5 minutes parallel time.
Publishing (30 minutes):
- Export square crops for DoorDash/Uber Eats; 3:4 crops for in-store boards.
- Swap in “Street Food Modern” variants for three best-selling tacos for A/B testing over two weeks.
Costs (hypothetical math for clarity):
- Assume Starter/Pro credits price standard images at ~$3-$6 each and high-res upgrades add ~$2-$4. For 18 standard renders + 6 upgrades: ~$78-$156 all-in. Photographer quote was $2,800-over 10-35x more.
Outcome: photos live the same day; chain tests bold vs neutral backgrounds without a reshoot. The AI food photography results speak for themselves with same-day delivery. This AI food photography approach works well for rapid iteration. Caveat: they still plan a quarterly hero shoot for campaign billboards.
Summary: A 12-item refresh in ~2.5 hours including setup and publishing costs roughly the low hundreds in credits versus a $2,800 shoot, with results live the same day.
Implementation guide: replicate the 30-second workflow
Here’s a step-by-step to hit sub-2-minute finals per dish on a typical lunch-shift sprint.
- Build two branded environments (15-20 minutes total)
- Example presets: “Bright Diner” (high-key, warm whites, chrome props) and “Italian Rustic” (warm terracotta, matte ceramics, soft window light). Reuse forever for consistency.
- Tip: lock guardrails like “no extra toppings” and “no additional garnishes.”
- Prepare inputs (10 minutes)
- Reference photos: shoot near a window, phone at 1-2x zoom, tap-to-focus on the hero ingredient. Avoid harsh overheads.
- Text-only backups: write a 1-2 sentence description; Prompt Enhancement will expand it into production-ready detail. Your food photography AI workflow handles the rest.
- Sprint in batches of four dishes (25-35 minutes per batch)
- Generate each dish (0:40-1:20 typical to first image). While one dish upgrades, start the next.
- For any unrealistic elements (steam, cheese pull physics), re-roll with a specific constraint like “no exaggerated stretch,” usually +0:30.
- Upgrade selectively (5-10 minutes overlapping)
- Only upgrade the winners you plan to publish widely. Mechanism: test standard-quality variants on a private menu preview; upgrade the best-performing visuals.
- Export and publish (15-20 minutes)
- Export multiple crops: 1:1 for delivery apps, 3:4 for print boards, 16:9 for screens.
- Keep filenames structured: item_sku_style_env_v2.jpg so multi-location teams can stay synced.
Avoid these common mistakes:
- Pile too many props: busy frames look fake. Stick to 1-2 props.
- Ignore accuracy: if you don’t forbid extra garnishes, AI may “helpfully” add them.
- Over-upgrading: upgrading every image eliminates the cost advantage.
Summary: Create two environments, prep inputs, sprint in batches, upgrade only winners, and export smart crops. Guardrails in prompts prevent garnish creep and save time.
Next steps
Run your own stopwatch test this week. Pick four dishes-two with quick iPhone reference photos and two from text-only-and set up two branded environments in Yummify. Time from “Generate” to first usable image, then upgrade only the two winners. Export square and 3:4 crops and swap them into your delivery apps and menu boards for two weeks. Track add-to-cart or menu click rates. If your results match our test (0:38-1:18 to first images; under 2:30 to final), you’ll refresh an entire section of your menu in an afternoon, for a fraction of a single photographer session. Your delivery app photos will look consistent and professional.
Continue exploring:
FAQ
Can I use my own photos, or do I need to start from text prompts?
You can do either. If you have a passable iPhone photo (window light, in focus), uploading it usually yields a usable result in under a minute because the AI has concrete geometry and textures to work from. Text-only works too via Prompt Enhancement, but expect slightly longer generation times and more variation in toppings or garnish density. For strict accuracy, reference photos are the faster path.
How does this compare to hiring a photographer on speed and cost?
A typical 20-dish shoot costs $3,000-$6,000 and takes 2-4 weeks from booking to edited files. In our test, we produced four dishes with first images in 0:38-1:18 and upgraded finals in under 2:30 each. Cost-wise, Yummify uses credits (subscription tiers); realistic math puts a 12-item refresh in the low hundreds, not thousands. Many teams still book quarterly hero shoots, but use AI for the weekly grind.
What if my food doesn’t photograph well or I only have dim kitchen pics?
Start near a window, kill overhead fluorescents, and shoot at 1-2x zoom to avoid wide-angle distortion. If a dish is still tough, switch to text-only and let Prompt Enhancement generate a clean base, then dial in specifics (plating style, props). For items with tricky textures (glossy sauces, stretchy cheese), plan one extra re-roll with a constraint like “no exaggerated shine” or “subtle cheese stretch.”
Do I need special equipment or a studio to get good inputs?
No. A modern smartphone and a clean prep surface are enough. Use natural window light and a simple background (cutting board, parchment, neutral plate). If you have a $20 clamp light with a daylight bulb, that’s a bonus but not required. The AI handles styling; you handle clarity and accuracy in your inputs.
How long does it take to learn Yummify?
Most teams are productive within an hour. Build two branded environments, upload a couple of references, and you’ll have a repeatable workflow. The only learning curve is getting specific with constraints (e.g., “no extra garnishes,” “keep tortilla char visible”). After a day of practice, expect consistent, predictable output.
Will images stay consistent across multiple locations and staff?
Yes, that’s what branded environments are for. Save your lighting, background, and prop preferences once, and staff at any location can apply them to new dishes. File naming and a short SOP (5-6 bullet points) keep everyone aligned. This is often more consistent than rotating photographers across markets.
Can I A/B test different styles, and how many variations should I run?
Yes. A practical approach is 2-3 variations per dish across two environments-e.g., bright background vs neutral. Publish one version per week on delivery apps or menu screens and track add-to-cart or dwell time. Don’t upgrade all variants up front; test at standard quality, then upgrade only the winning images.
Related posts

15 Creative Food Photography Ideas to Make Your Dishes Stand Out
Discover creative food photography ideas to make your dishes stand out. Learn action shots, deconstructed dishes, unique angles, storytelling, and AI tools for stunning food visuals.

Beyond Burgers: AI Food Styling for Diets and Cuisines
Use AI food styling to create accurate vegan, gluten-free, halal, kosher, and global cuisine photos that convert across delivery apps, QR menus, and social.

Close the Loop: Tie Food Imagery to Analytics and Sales
Stop guessing which food photos work. Learn a simple workflow to tie Yummify images to analytics, A/B test visuals, and promote only the photos that actually sell.