The Death of the $2,000 Food Photoshoot

Quick navigation:
- 1. Why the $2,000 food photoshoot is dying (but photography isn’t)
- 2. What still matters: quality, honesty, and conversion in a visual?first marketplace
- 3. Replace the big shoot: a practical, AI?accelerated workflow for operators
- 4. When to still hire a photographer: the hybrid model that actually pencils out
- 5. Turn photos into revenue: connecting visuals, analytics, and future?proof menus
1. Why the $2,000 food photoshoot is dying (but photography isn’t)
From $2,000 Photoshoots to Always-On Menu Imagery
| Old Model: Big Photoshoot | New Model: AI-Accelerated Workflow |
|---|---|
| Budget Pattern | One-off $2-10K shoot, big sunk cost |
| Operational Impact | Close sections, stage props, coordinate staff for a full day |
| Freshness of Photos | Stale within months. Reshoot for every packaging or garnish change |
| Data & Iteration | ‘Hope and pray’ creative. Decisions based on taste not tests |
| Use Cases Covered | Mostly website plus a few hero shots |
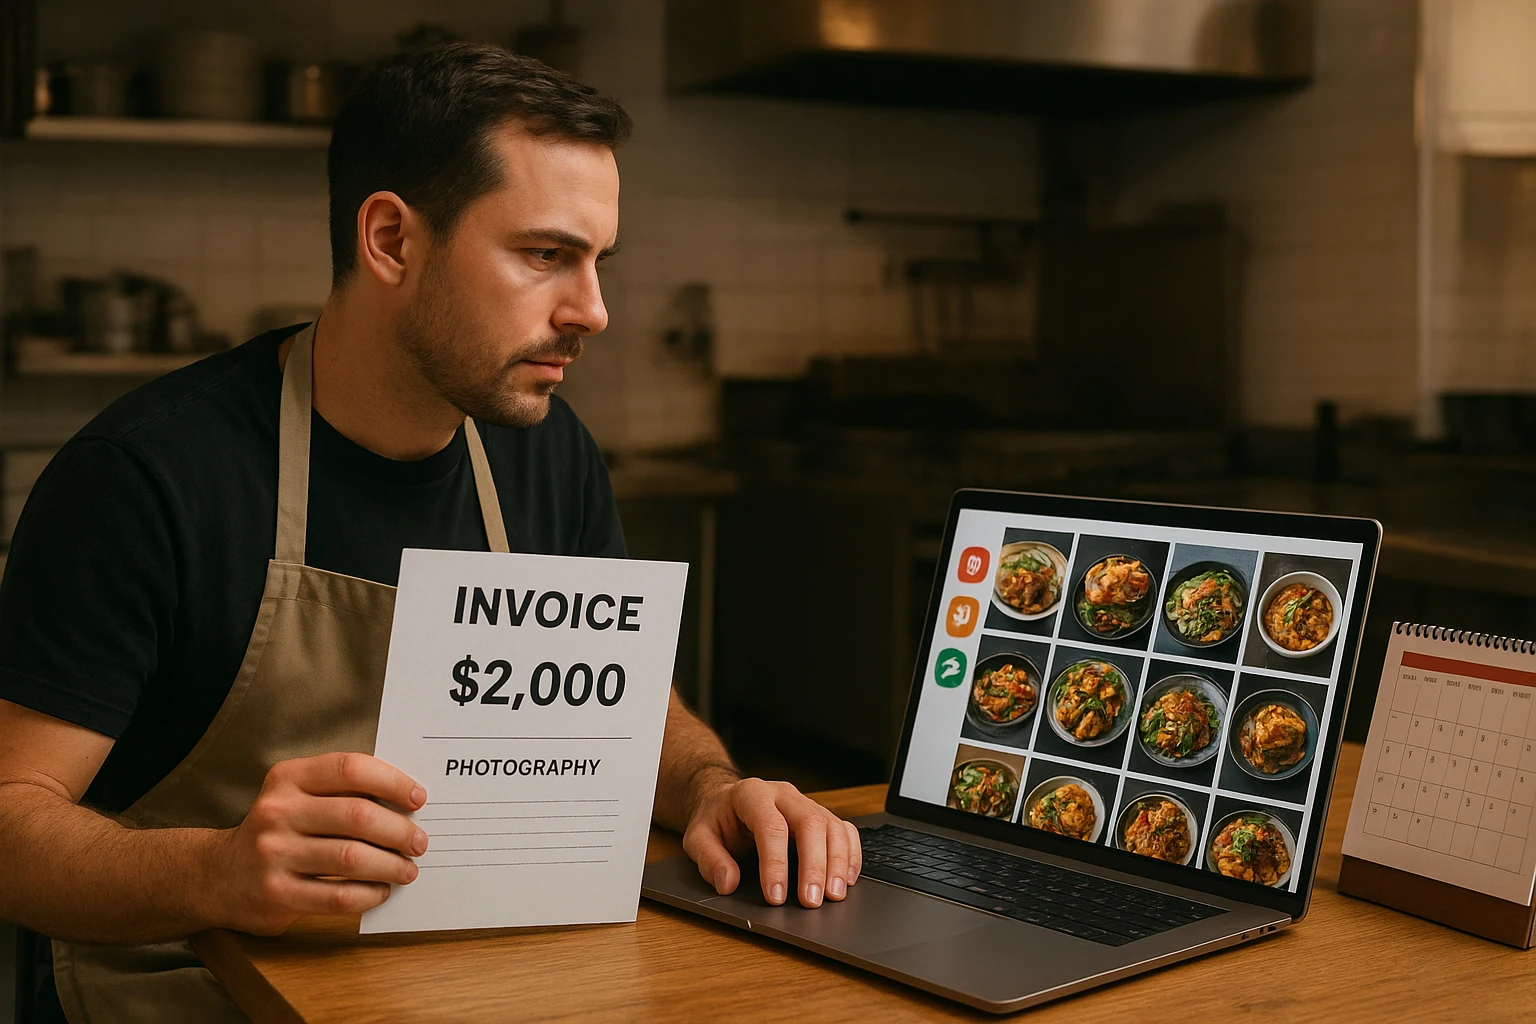
A regional group is rolling out delivery to 40 locations. Their agency quotes $18,000 for a “must-have” shoot. It requires three full days of disruption. They must shut down brunch. They must haul in lights. They must stage fake tablescapes.
But here’s the problem. By the time they change packaging or tweak portion sizes, half those restaurant menu photos will already be wrong.
That’s the core problem with the classic $2,000-a-day shoot. They designed it for a world where you updated menu boards once a year. Your website had six hero shots. Today you need:
- 3-5 online ordering food photos per dish. Use them for delivery tiles, in-app promos, and social.
- Make variants for QR menus, catering decks, digital billboards, and third-party marketplaces.
- Get rapid refreshes when you change containers, toppings, or price points.
According to McKinsey, digital ordering grew faster than dine-in. This was true even before recent shocks. That shift multiplied the number of decisions made from a photo. Guests used to rely on server recommendations.
The risk has flipped
The danger used to be not investing in a big glossy shoot.
Now the bigger risk has shifted. It’s being locked into inflexible imagery you can’t test or adapt:
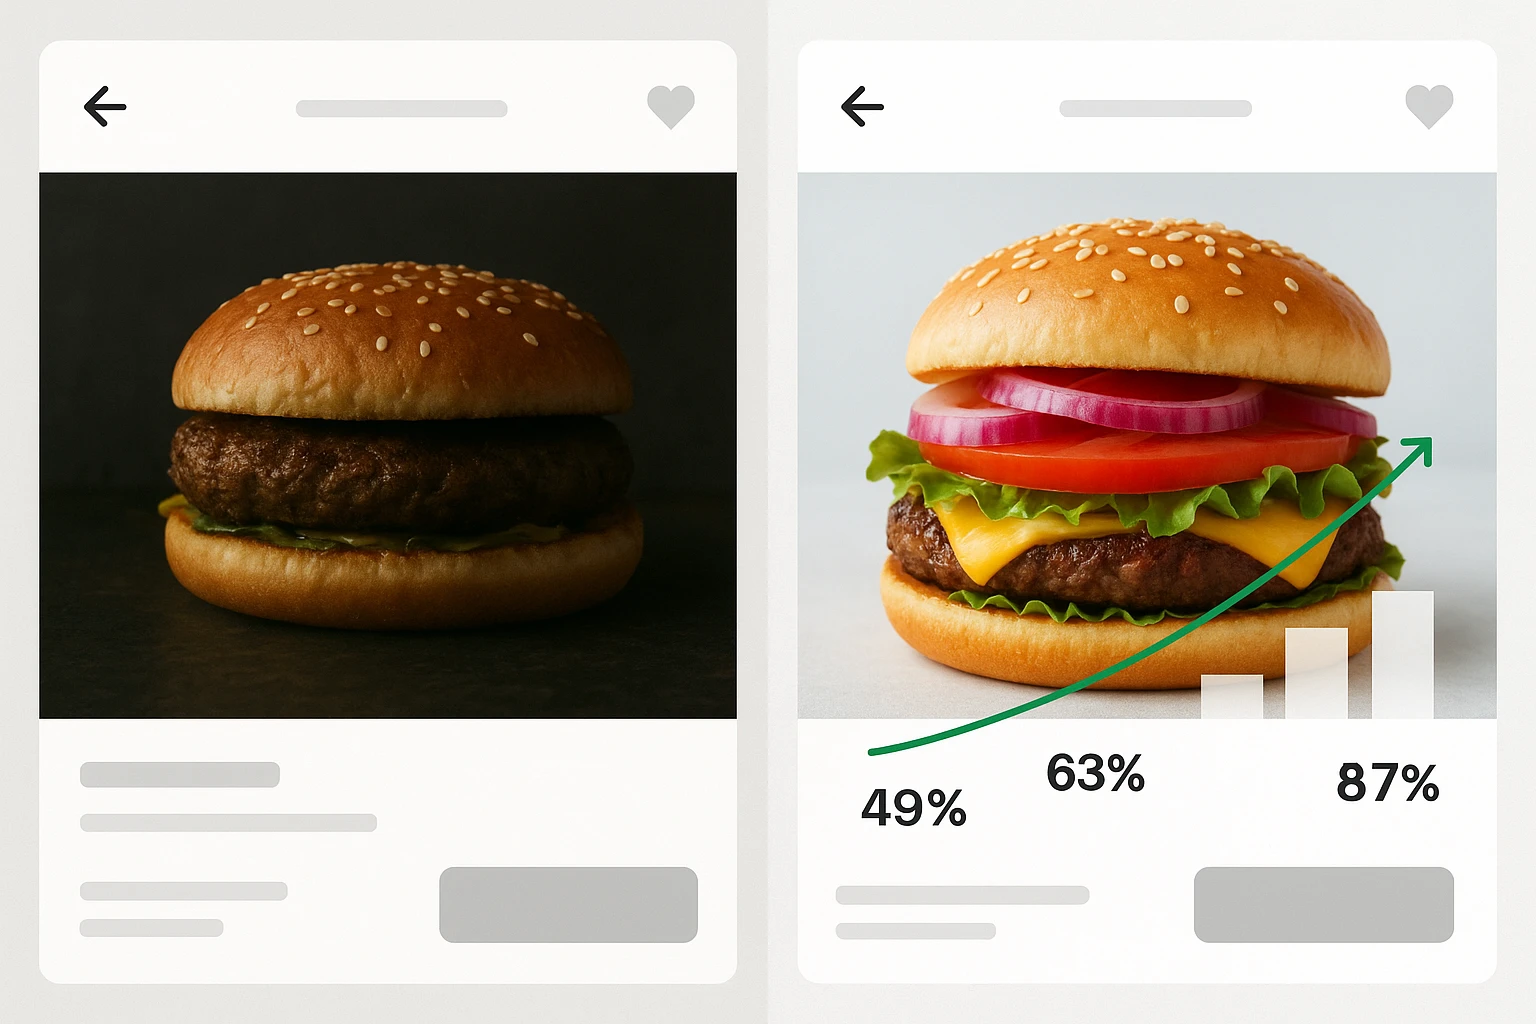
- Photos that show portions you no longer serve. This leads to review complaints.
- Perfectly lit burgers that don’t match the current bun. This confuses new guests.
- Hero shots that were never tested. They got selected because “the chef liked it.”
Delivery platforms are blunt about this. DoorDash’s menu photo guidelines stress that accurate, appetizing photos help guests decide quickly. They reduce disputes. Deliverect notes that better photos link to higher conversion and order value. This matters most when guests can’t see your dining room.
So photography isn’t dying. The old purchasing pattern is. Operators are shifting from rare, expensive shoots to an always-on system:
- Lightweight staff capture on phones.
- AI food photography for restaurants. Use tools like Yummify to style those captures into consistent, on-brand assets.
- Ongoing testing and refreshes. Skip the all-or-nothing gambles.
If you treat visuals as a living part of menu engineering, you spend less overall. Your photos finally keep up with your operation.
Pause and list where your current food photos came from. Note how old they are. This will anchor the rest of the article in your real numbers.
2. What still matters: quality, honesty, and conversion in a visual?first marketplace
Cheaper workflows do not mean you can relax your standards. The bar for restaurant marketing visuals is higher. Every decision happens on a screen.
The three non?negotiables
For any menu image-whether from a DSLR, phone, or Yummify AI workflow-ask these questions:
- Clarity: Can a guest instantly see what they’re getting?
- Honesty: Does it truly match the portion, toppings, and packaging you serve?
- Conversion: Does it make someone more likely to click and build a better basket?
DoorDash’s best practices and Uber Eats’ photo tips both emphasize the same technical basics:
- Bright, even lighting. Use window or diffused light. Avoid harsh shadows.
- A clear view of the hero item. No heavy filters. No tight crops hiding ingredients.
- Simple, non-distracting backgrounds and props.
Deliverect reports that strong online ordering food photos can boost click-through and basket size. This matters most on crowded delivery platforms. Numbers vary by market. The pattern is consistent: better images mean better revenue.
Operator checklist: modern photo standards
Use this quick checklist. Audit three of your current hero shots:
- The main dish is fully visible, sharp, and well lit.
- Colors look appetizing. Avoid neon or plastic looks.
- Portions in the photo match what guests receive today.
- At least one angle clearly shows key ingredients and toppings.
- Backgrounds support the dish without stealing attention.
- No hidden cheese on “vegan.” No croutons on “gluten-free.” No mystery sauces.
- File sizes and ratios work for delivery tiles, QR menus, and your website.
This is where AI food photography for restaurants needs guardrails. Yummify starts from your real dish photo or description. It styles around that. You can dial in plating, background, and lighting. The portions and components stay recognizable. Pair this with clear allergen and dietary rules. For more depth, see our guide to honest imagery for allergens and dietary claims.
For visual inspiration on plating and composition, watch this short clip. Notice how simple changes in angle and garnish change the story of the dish:
Compare three of your current hero images against this checklist. Note where they fall short. Those gaps are where low-cost improvements will pay off fastest.
3. Replace the big shoot: a practical, AI?accelerated workflow for operators
Instead of saving up for an annual blowout shoot, treat photography like inventory. Think small, frequent runs that match demand. Here’s a Yummify-style workflow you can plug into a typical week.
Step 1: Capture while you prep
Ask one line cook or shift lead to capture photos. Have them shoot 3-5 angles of each featured item. Do this during prep, not peak service:
- Place the dish near a window. Or use your best overhead light.
- Shoot overhead. Shoot at 45 degrees. Get a close side angle showing layers or fillings.
- Grab at least one shot in the actual to-go packaging.
This takes 5-10 minutes per dish. Make it a habit. For deeper habits and shot lists, see our guide on simple capture habits for better AI results.
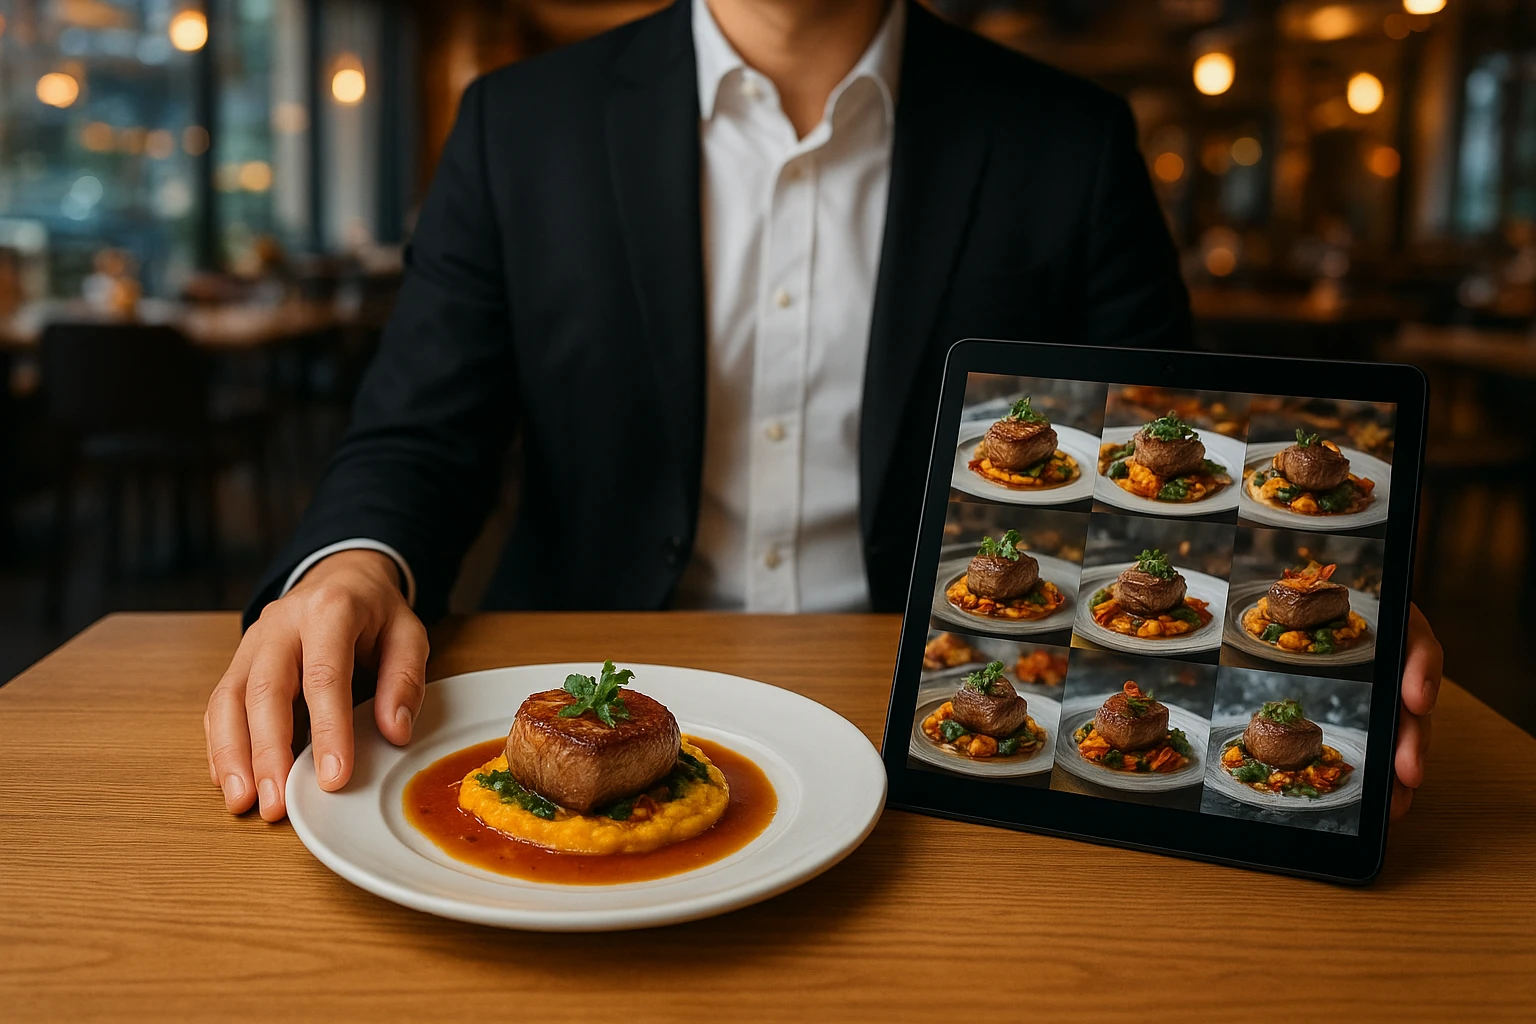
Step 2: Run through a Yummify AI workflow
At the end of the shift, your marketer or GM picks the best captures. Then upload to Yummify:
- Apply a saved branded environment. Try “Bright Taqueria” or “Modern Bento.”
- Let prompt enhancement add detail. You would never have time to type this yourself.
- Generate 3-6 variations per hero dish at standard quality.
According to McKinsey, delivery is a fast-growing channel in food service. That alone justifies having multiple, testable restaurant marketing visuals for each core item.
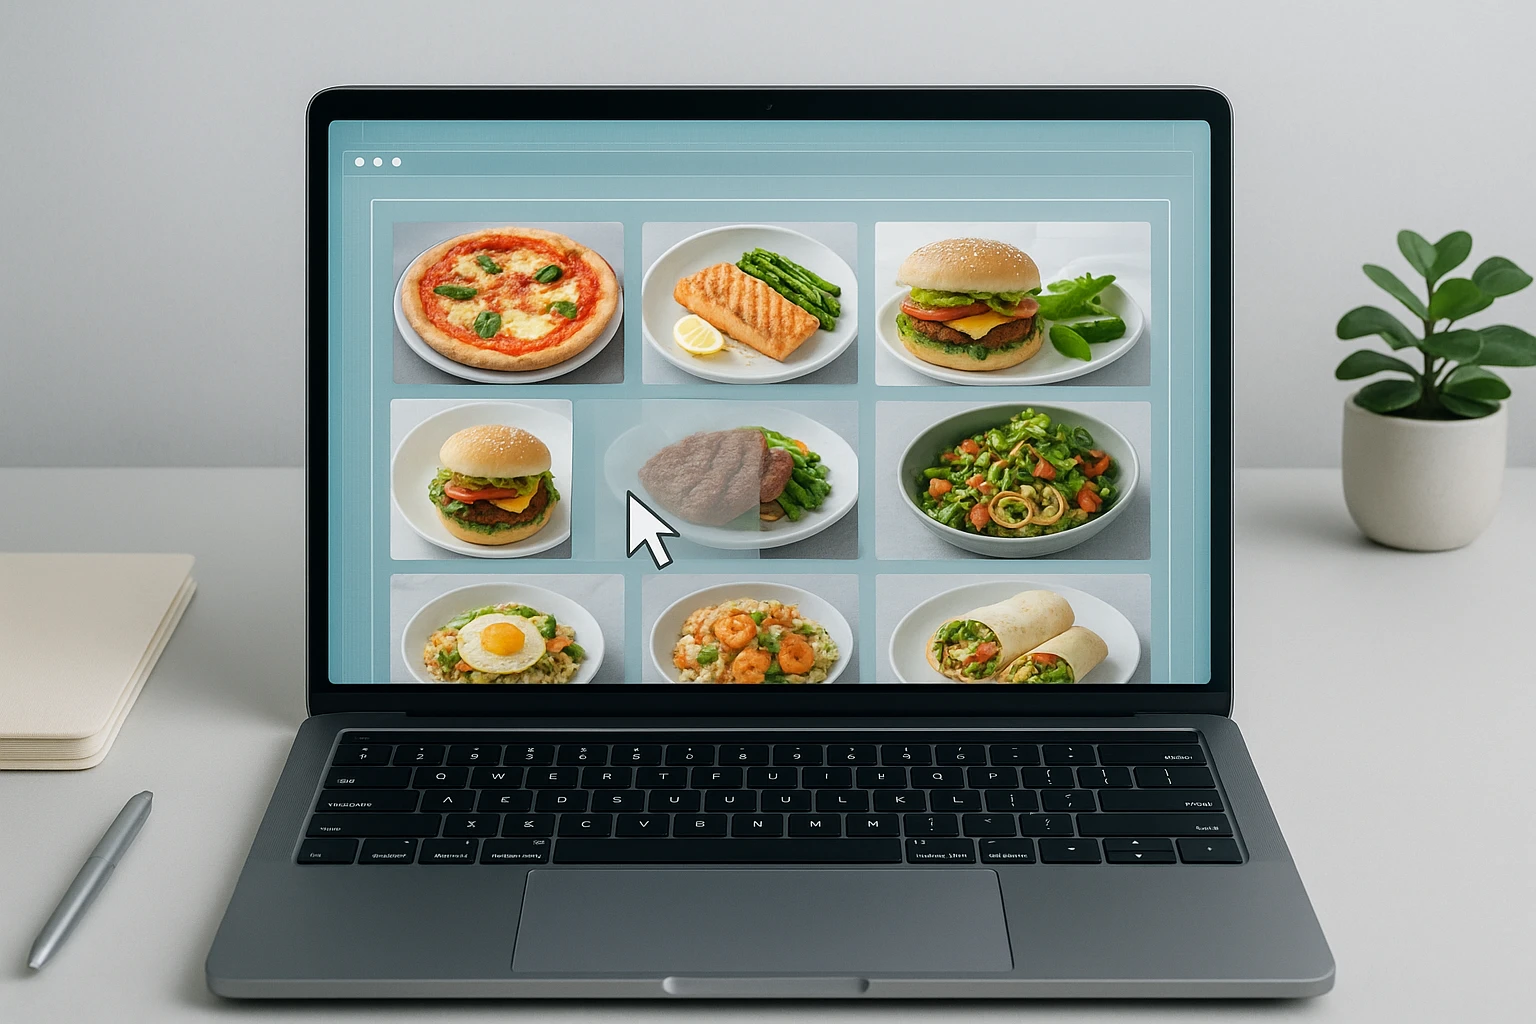
Step 3: Publish and test across channels
Within an afternoon, you have a full set of consistent restaurant menu photos. Put them to work immediately:
- Upload to delivery platforms. Also use them on your own online ordering site.
- Drop into QR menus. See our best practices for QR menus that convert.
- Reuse in social posts. Also use them in email headers and in-store screens.
Start basic A/B tests on key dishes. Try thumbnail A versus B for two weeks each. Our guide to A/B testing food photos covers timelines and metrics.
This AI food photography for restaurants workflow scales easily across locations once you establish the capture habit.
Sketch this workflow for your own operation. Jot down who would own each step next quarter.
4. When to still hire a photographer: the hybrid model that actually pencils out
AI food photography for restaurants doesn’t replace photographers. It changes when you need them.
Where pros still earn their fee
You should absolutely consider a photographer when:
- Launching or rebranding a concept. You need iconic hero imagery.
- Opening a flagship. PR, influencers, and reviewers will judge you off your visuals.
- Shooting complex motion or people-heavy scenes. Think bartenders in action or lifestyle spreads.
In those cases, negotiate a scope that feeds your AI system:
- Capture clean, well-lit plates on neutral backgrounds. Also get styled scenes.
- Ask for overhead and 45-degree angles. You can feed these into Yummify later. Use them for seasonal or localized variants.
Quick decision matrix
Use this simple matrix. Refer to it the next time an agency says “we need a full reshoot”:
- Brand launch or major rebrand? Go hybrid. Use pro heroes plus Yummify variants.
- New flagship opening? Go hybrid. Use a half-day shoot plus AI for menus and QR.
- Everyday LTOs, add-ons, or sides? Use AI-first with staff capture.
- Packaging or portion tweaks? Use AI-first. Update with new container shots.
- Catering catalog refresh? Go hybrid. Use a few anchor trays plus AI to generate layouts for different group sizes. See our guide on AI-styled catering platters.
This hybrid approach keeps photographers focused on what humans do best. Think art direction, storytelling, and complex lighting. Yummify handles the rest. It manages volume, consistency, and rapid change.
List your next 3-5 big marketing moments. Note which deserve a hybrid approach versus pure AI workflows.
5. Turn photos into revenue: connecting visuals, analytics, and future?proof menus
Once your imagery is always-on, the question becomes: which photos actually make you money?
Close the loop between photos and sales
Adopt a simple test-and-learn playbook:
- Tag each image variant in your POS or menu management tool. Use names like “BURGER_A” or “BURGER_B.”
- Run each variant for 2-4 weeks. Use a single channel at a time.
- Track item-level metrics. Watch impressions, click-through, conversion to order, and average check size.
- Keep the winner. Retire the loser.
Research from McKinsey shows digital ordering is central to restaurant revenue. Even small gains in conversion stack up over thousands of orders.
Pair that with menu engineering:
- Give high-margin items more visually aggressive angles, props, or serving vessels.
- Test combo shots. Try burger plus loaded fries versus single-item shots. See which builds better baskets.
- Use winning images from delivery tests on QR menus and your website homepage.
For a deeper dive on the data side, see our playbook on closing the loop between food imagery and sales analytics.
Over time, your Yummify AI workflow becomes less about “pretty pictures.” It becomes more about controlled experiments. Refresh, test, standardize, repeat. The AI food photography for restaurants results speak clearly: controlled experiments beat gut instinct.
Choose one high-volume item and one underperformer. Commit to testing new visuals for both in the next 30 days.

Next steps
If your last food photoshoot cost more than a weekend’s payroll, it’s probably working against you. Instead of waiting another year to redo everything, run a small pilot.
Pick 8-12 dishes. Capture them on a smartphone during prep. Run them through a Yummify AI workflow to create consistent, testable images. Roll those into one delivery app and your QR menu. Monitor sales for a month.
You’ll know very quickly whether an always-on, AI-assisted system can replace your old $2,000 photoshoot. You’ll have a repeatable process. You can scale it across every concept and location.
FAQ
Will moving away from big pro photoshoots hurt my brand or reviews?
Not if you replace them with a disciplined, always-on workflow. Guests and reviewers care that photos are appetizing, accurate, and consistent. They must match what shows up at the table or door. DoorDash’s best practices and Deliverect’s guidance both stress clarity and realism over expensive styling. A lean Yummify process can actually improve trust. It keeps images aligned with current portions, packaging, and recipes. The key is enforcing internal standards. Review top-selling images at least quarterly.
Can AI-styled photos meet delivery app guidelines without getting flagged?
Most delivery platforms focus on what the guest sees. They look for accuracy, clarity, and proper formatting. They don’t focus on the specific tools used to produce the image. DoorDash and Uber Eats guidelines emphasize lighting, framing, and avoiding misleading edits. Your Yummify outputs must truthfully represent your dishes. Respect those rules. Your images should be acceptable. Policies can change. Operators should periodically review platform documentation. Keep AI styling aligned with real portions and ingredients.
How do I keep AI-powered photos honest about allergens and dietary claims?
Start with clear, documented rules. Define what a vegan symbol means. Define how you show gluten-free. Define how you depict common allergens. Make sure whoever runs your Yummify AI workflow tags dishes with those attributes. Check outputs against the rules before publishing. The National Restaurant Association’s State of the Restaurant Industry report highlights rising guest concern about transparency. This is both a legal and competitive issue. When in doubt, simplify the styling. Don’t risk misrepresenting cheese, nuts, or bread components. Build a quick signoff step into your process for any item with allergen or dietary labels.
What’s a realistic monthly time and budget to maintain an always-on imagery system?
For a single-location restaurant, expect 2-4 hours per month of staff time. Capture new items, approve Yummify outputs, and update menus. Budget-wise, a modest monthly subscription replaces occasional $3,000-$6,000 shoots. Multi-unit groups may dedicate part of one marketing role to coordinate capture calendars and brand standards. The main shift is moving from large, unpredictable checks to smaller recurring spend that scales across all locations.
How quickly can I see sales impact from new AI-enhanced photos?
If you focus on high-volume items, AI food photography for restaurants usually delivers results within 2-4 weeks per test. Use a delivery app or QR menu. Digital channels generate enough impressions. Even modest shifts in click-through or conversion become obvious. Compare before and after periods. Research from McKinsey shows digital ordering is a major revenue driver. Deliverect links better photos to stronger performance. It’s worth running structured image tests. Start with one or two menu items. Hold price and placement steady. Change only the image. This helps you attribute differences to the visuals.
Do multi-location and franchise concepts need a different approach?
They need more structure, not different tools. The playbook involves defining a small set of branded environments in Yummify. Then roll those out as templates. All locations must use them. A central team or approved agency can manage core hero assets. Local operators handle day-to-day capture for LTOs and packaging changes. For more on this, see our guide to AI photos for franchise consistency. It covers governance, approvals, and how to prevent off-brand local improvisations.
Related posts

15 Creative Food Photography Ideas to Make Your Dishes Stand Out
Discover creative food photography ideas to make your dishes stand out. Learn action shots, deconstructed dishes, unique angles, storytelling, and AI tools for stunning food visuals.

Beyond Burgers: AI Food Styling for Diets and Cuisines
Use AI food styling to create accurate vegan, gluten-free, halal, kosher, and global cuisine photos that convert across delivery apps, QR menus, and social.

Close the Loop: Tie Food Imagery to Analytics and Sales
Stop guessing which food photos work. Learn a simple workflow to tie Yummify images to analytics, A/B test visuals, and promote only the photos that actually sell.