A/B Testing Food Photos: Find the Visuals That Sell
Why image A/B testing matters for restaurants and delivery
If you sell food online, your image is your packaging. The wrong photo angle, a muddy background, or limp garnish can quietly cost you orders. You don’t need a full rebrand-small, controlled changes can move real dollars when you have repeat exposure on your website and delivery apps.
Two realistic scenarios:
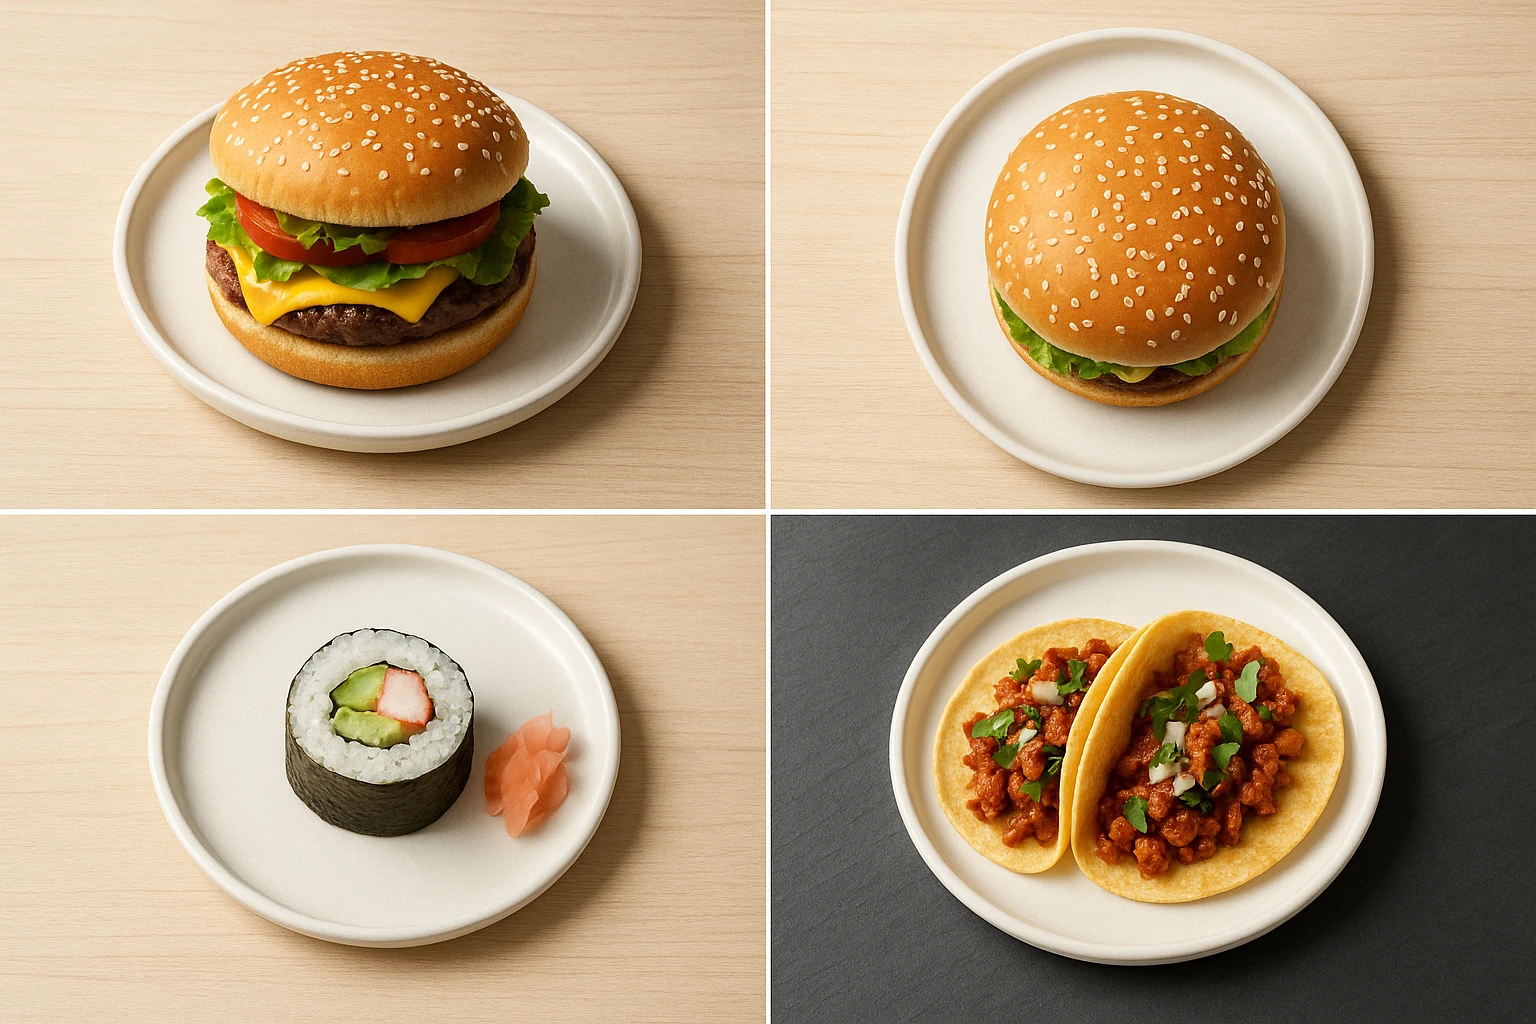
- Burger shop example (hypothetical): Your cheeseburger item tile gets 1,000 views/week on DoorDash. Click-through from tile to item page is 8%, and 30% of item-page viewers order. That’s 24 orders (1,000 x 0.08 x 0.30). If a new photo bumps CTR to 10% (same price, same copy), you’re at 30 orders-6 extra/week. At a $18 AOV and 25% margin, that’s ~$27/week in profit from one image swap, ~$1,400/year per item. This A/B testing food photos example shows how small changes add up.
- Sushi roll example (hypothetical): On your website, your “Add to Cart” rate for a featured roll is 2.5% from pageviews. A clearer overhead shot with clean rice texture and bright pickled ginger increases ATC to 3.2%. On 10,000 monthly pageviews, that’s 70 extra carts, even if checkout rate stays flat.
Why testing beats guessing:
- Visual preferences vary by cuisine and market. The hero angle that works for a pizza slice in Brooklyn (45? with cheese stretch) may underperform for nigiri in Seattle (top-down precision).
- Seasonal context matters. A cozy, dark background can win in December and lose in July. A/B testing food photos helps you determine when to switch visuals.
A/B testing isolates which visuals sell. You run one change at a time (angle, garnish, or background), measure the impact, and lock in winners. With AI, generating disciplined variations is now fast and inexpensive enough to make testing routine rather than a once-a-year project.
Summary: Small, controlled photo changes measurably affect orders. Testing one variable at a time reveals which visuals convert for your cuisine, market, and season.
What operators try today-and why it falls short
Here’s what most teams do when they “test” photos-and the problems that creep in.
What people try:
- Reshoot with a photographer weeks later. Cost: $150-300 per dish plus stylist ($400-800/session). By the time you get edits, your promo window passed. Result: You often skip testing entirely.
- DIY iPhone rounds. You shoot 5-6 quick variations before service. Lighting drifts as clouds move; garnish wilts between shots; framing shifts. Your A vs. B differ in three ways at once, so you can’t trust the data.
- Swap images randomly on delivery apps. You change photos midweek while also running a BOGO. If orders rise, was it the image or the discount?
Specific limitations:
- Inconsistent variables create noisy tests. Example: One week you shoot in daylight, the next under warm LEDs. A warmer image might perform worse not because of angle, but because it’s grainy. This A/B testing food photos pitfall undermines data reliability.
- Platforms restrict native A/B testing. Most delivery apps don’t let you split traffic by image. You must use time-split (Week 1 vs. Week 2) or location-split (if you operate multiple storefronts) while holding price and promos steady.
- Budget makes iteration unrealistic. Testing three variations of 12 dishes with traditional photography could exceed $5,000 and 2-4 weeks. Most teams won’t run that experiment.
Bottom line: Without controlled variables and repeatable variations, you’re guessing. A/B testing food photos requires consistent variants on demand and a test plan that fits each platform’s constraints.
Summary: Common testing tactics-slow reshoots, inconsistent phone shots, mid-promo swaps-create noise. Platform constraints require disciplined, low-cost, repeatable variation.
A/B testing workflow with Yummify (web + apps)
Use this step-by-step plan to test images properly while keeping costs down.
- Choose one hypothesis per test Pick a single variable:
- Angle: overhead (90?) vs. 45? hero vs. straight-on. Works well for flat foods (pizza, bowls) vs. stacked foods (burgers, sandwiches).
- Garnish: cilantro on/off, sesame sprinkle, lime wedge. Use only garnishes you actually serve to avoid returns.
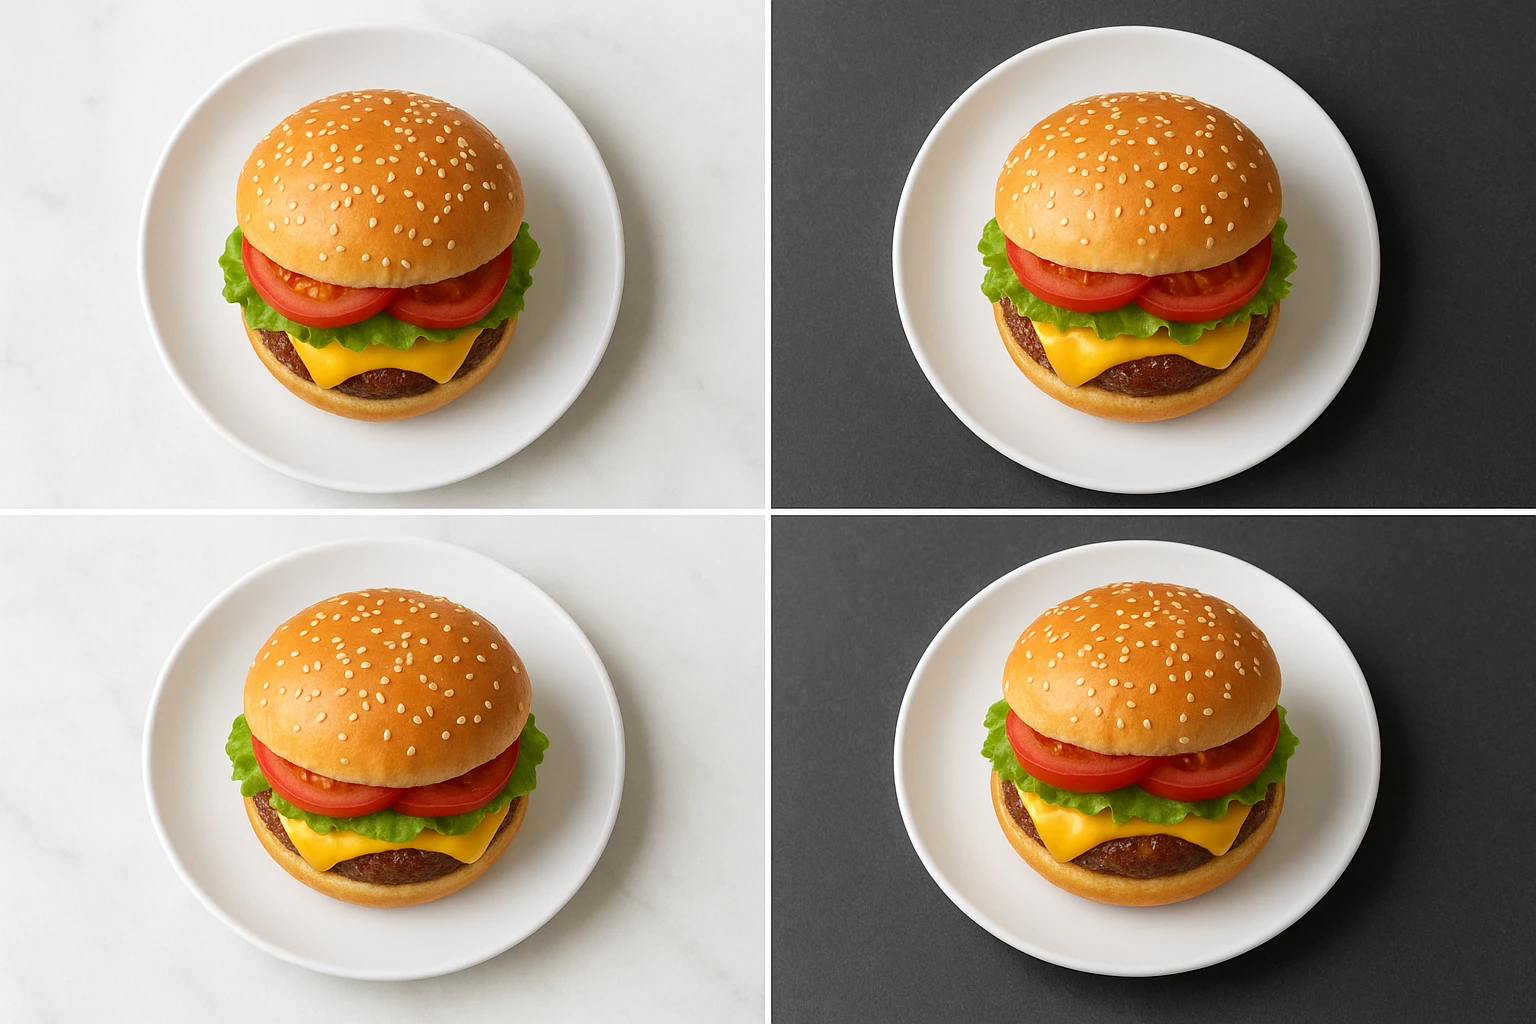
- Background: light marble vs. dark slate; wood vs. solid color. Keep props constant.
- Generate disciplined variants in Yummify
- Upload a reference photo or start from a dish description. Create a branded environment once (e.g., “Rustic Cantina”: warm light, terracotta, shallow depth). Reuse it so only one variable changes. This A/B testing food photos method ensures controlled experiments.
- Use Prompt Enhancement to enforce specifics: “Burger, 45? angle, sesame bun, no hand, light marble background, same plate as control.” Generate 3-5 options, pick the two closest to your control goal.
- Start at standard quality to keep costs low; upgrade only winners. This A/B testing food photos approach keeps iterations affordable.
- Implement the test
- Website (Shopify/Webflow/WordPress): Create two image URLs, A and B. Randomize 50/50 with a simple script or your A/B tool. Track variant in GA4 via a query parameter (?img=A/B) and record clicks and Add-to-Cart.
- Delivery apps (DoorDash, Uber Eats, Grubhub): Use a time-split. Week 1 = A, Week 2 = B. Keep price, promos, and copy identical. If you have two locations, run A in Location 1 and B in Location 2 for the same week, then swap. This menu image optimization strategy ensures clean data.
- Measure and iterate
- Primary metrics: Item tile CTR (if available), Item conversion (views-to-orders), and AOV.
- Run for at least 1 full week per variant to cover day-of-week effects. If each variant sees 500+ item views, you’ll get directional results quickly.
- Lock in the winner; generate a new variant against it (laddering). Upgrade the final image to high quality.
Example: A burger joint tests 45? vs. overhead. Overhead lifts tile CTR from 9.2% to 10.8% over 1,400 combined tile views. They ship overhead across the burger category and test background next. The delivery app conversion rate improvement justifies the effort.
Summary: Pick one variable. Generate controlled variants with branded environments. Split traffic on web and time-split on apps. Measure for a week+, then ladder new tests.
Deep dive case study: Austin taco shop, 14-day sprint
Hypothetical but realistic example. A two-location taqueria wants better conversion for their Al Pastor tacos on Uber Eats and their own site.
Test matrix (single-variable ladder):
- Week 1 (Control): 45? angle, light wood background, cilantro garnish.
- Week 2 (Variant): Overhead angle, light wood background, cilantro garnish.
- Week 3 (Winner vs. New Variant): Winner from Weeks 1-2 vs. 45? angle, dark slate background, cilantro garnish.
Setup details:
- Yummify: They create a “Street Food Modern” branded environment (warm, directional light, neutral props). They upload a decent iPhone reference shot, then generate Yummify AI photos for the overhead variant and dark slate variant via Prompt Enhancement. All else constant.
- Website: They randomize A/B via a small script that swaps the hero image 50/50 and logs ?img=A or ?img=B to GA4 events.
- Uber Eats: They do time-split-Week 1 control, Week 2 variant-no price or copy changes, no promos.
Results:
- Week 1 vs. Week 2 (Uber Eats): Item tile CTR rises from 7.4% to 8.6% (n=1,900 tile views total). Item conversion (item views to orders) moves from 28.1% to 29.0%. Net: +21 orders in Week 2, AOV $16.40, est. $86 additional contribution margin (assuming 25%).
- Website A/B (same two weeks): Overhead wins with a 3.4% Add-to-Cart vs. 2.9% for 45? (n=8,500 sessions; p is directional but strong).
- Week 3 (background test, Uber Eats): Dark slate underperforms on conversion (27.3%) while tile CTR is similar, implying the darker background may reduce perceived portion size. They keep light wood and move on to testing lime wedge on/off next. The A/B testing food photos results speak clearly.
Cost/time:
- Traditional reshoot for three variants might run $600-900 and 2-3 weeks.
- With Yummify, they generated three sets in under an hour. Assuming plan pricing yields under $5 per image at standard quality, the whole sprint cost well under $50 before upgrading the winner. This A/B testing food photos workflow keeps expenses low while delivering Yummify AI photos at scale.
Summary: A realistic 14-day ladder test shows overhead angle wins on both Uber Eats and the website; dark slate background loses on conversion. Fast, low-cost iteration wins.
Implementation guide: checklist, metrics, pitfalls
Use this checklist to launch your first test in 48 hours.
Plan (Day 0):
- Pick 3-5 high-traffic items. Define success (e.g., +1.5pp tile CTR or +0.5pp item conversion) and hold price/promos steady.
- Choose one variable (angle, garnish, or background). Don’t change copy, price, or props simultaneously.
Create (Day 1):
- Shoot a solid reference photo near a window (diffused daylight). Plate exactly how you serve it.
- In Yummify, create a branded environment to standardize lighting and mood. Generate Yummify AI photos in 3-5 variants, then pick your best control-variant pair that only differs on your chosen variable.
Implement (Day 1-2):
- Website: Add both images to your CMS. Randomize 50/50 using your A/B tool or a simple script. Track variant via URL parameter or data attribute, and send GA4 events for image_variant, clicks, add_to_cart, and purchases.
- Delivery apps: Use a time-split. Run Control for a full week, then swap to Variant the next week. If you have two locations, run A at Location 1 and B at Location 2 in the same week, then cross-over.
Measure (Week 1-2):
- Primary: Item tile CTR (if available), views-to-orders conversion. Secondary: AOV, refund rate.
- Minimum sample: Aim for 500+ item views per variant or two full weeks. Normalize by day-of-week; exclude days with promos or outages.
Decide and iterate (Week 3):
- If Variant wins, promote it to control. Generate the next test (e.g., background). Upgrade the winner to high quality for long-term use.
Avoid these pitfalls:
- Multi-variable swaps. Keep one change at a time.
- Short windows. Weekend-only data is misleading.
- Inconsistent plating between photos. Lock it down with branded environments and checklists.
Summary: Launch in 48 hours. Choose one variable and generate controlled variants. Split traffic (web) or time-split (apps). Measure for a week+. Promote winners and ladder the next test.
Next steps
Run your first photo test this week. Pick your top two dishes. Define one variable (angle, garnish, or background). Generate two disciplined variants in Yummify using a branded environment. Try Yummify free and randomize 50/50 on your website and run a week-over-week time-split on your delivery app. After 7-14 days, keep the winner and upgrade that image to high quality. Queue your next variable. This process costs single-digit dollars per image on most plans and takes under an hour to set up. Consistency wins-AI lets you iterate fast without scheduling a shoot.
FAQ
Can I use my own photos as a starting point?
Yes. Upload a decent reference photo (sharp focus, neutral light), and Yummify will style it according to your branded environment. This preserves your actual dish while giving you pro-level consistency. If you don’t have a good reference, you can start from a text prompt and iterate until it matches how you actually plate. For testing, keep plating identical between variants so only one variable changes.
How long should I run an image test?
Run at least a full week per variant to capture weekday vs. weekend patterns. If you can collect 500-1,000 item views per variant, you’ll get directional results quickly. For low-traffic items, extend to two weeks or pool similar items (e.g., all burgers) to reach a decision faster. Avoid switching during holidays or promos because they distort behavior.
What metrics do delivery apps actually provide for this?
Most merchant portals show menu views, item views, and orders, but not always item tile CTR. Use views-to-orders conversion as your primary metric, and track menu views for context. If you operate multiple locations, run a location-split in the same week to minimize seasonality. Document exact dates, prices, and promos so you can compare apples to apples.
Do I need special equipment to get good inputs?
No. A recent smartphone, natural window light, and a stable surface are enough. Turn off harsh overheads, shoot near midday, and avoid mixed lighting. Plate the dish exactly as served, and wipe edges for cleanliness. Yummify will handle styling refinements while keeping the dish believable.
How does this compare to hiring a photographer for tests?
Traditional shoots produce great images but are slow and expensive for iteration. A small test across three variables and several dishes can exceed $5,000 and take weeks. With Yummify, you can generate controlled variants in minutes and only upgrade winners to high resolution. Many teams still hire photographers quarterly for hero campaigns and use AI for ongoing menu optimization.
Will delivery apps accept AI-generated images?
In practice, apps care that images look accurate, appetizing, and policy-compliant (no text overlays, no watermarks, no misleading depictions). Because Yummify starts from your dish or a faithful prompt, you can align with what you actually serve. Keep props realistic and avoid staged elements you don’t include in orders. If unsure, test on your website first, then roll to apps.
What if my menu is seasonal and I have limited time?
Run a sprint: generate variants on Monday, deploy Tuesday, and collect data through Sunday. Prioritize top sellers and promos to gather enough views quickly, since even a small lift on a seasonal item can pay back fast. Document which visual patterns worked so you can reuse them next year.
Related posts

15 Creative Food Photography Ideas to Make Your Dishes Stand Out
Discover creative food photography ideas to make your dishes stand out. Learn action shots, deconstructed dishes, unique angles, storytelling, and AI tools for stunning food visuals.

Beyond Burgers: AI Food Styling for Diets and Cuisines
Use AI food styling to create accurate vegan, gluten-free, halal, kosher, and global cuisine photos that convert across delivery apps, QR menus, and social.

Close the Loop: Tie Food Imagery to Analytics and Sales
Stop guessing which food photos work. Learn a simple workflow to tie Yummify images to analytics, A/B test visuals, and promote only the photos that actually sell.