Pass Every Check: Delivery-App Image Guidelines and AI Workflows
Introduction: The weekend-killer nobody budgets for
It’s Friday at 3:10 p.m. Your team finally finished the fall promo. You upload the new pumpkin ravioli photo to two delivery apps-rejected in minutes for “text overlay” and “improper crop.” The promo timer keeps running, but the hero dish is stuck in review. Saturday brunch traffic dips, and your manager spends Sunday exporting last?minute fixes instead of serving guests.
This happens way more than anyone admits. Following delivery app image guidelines matters because Delivery platforms are picky for good reasons: consistent, clear food photos sell. But the rules vary just enough to cause re-uploads, and each re-upload costs time and momentum. If your average store does 60 orders/day at a $18 AOV, losing even 10% of orders for a 2?day delay is roughly $216 in missed revenue-per location.
This guide gives you the exact playbook to pass review the first time. We’ll summarize delivery app image guidelines including common image specs and content rules across major platforms. Then we’ll give you universal export presets, cropping guides that keep key ingredients in-frame, and a 5-minute QC checklist tailored to AI-enhanced photos. Use it whether you shoot on a phone, use Yummify to style images from references or prompts, or a mix of both. The goal: fewer rejections, faster menu updates, and photos that actually convert.
Summary: A relatable rejection scenario, the real cost of delays, and what this guide delivers: specs, presets, crops, and QC tailored to AI photos.
Section 1: The non-negotiables-delivery-app specs and content rules
Here’s what’s consistent across DoorDash, Uber Eats, Grubhub, Deliveroo, and Just Eat (US/UK) when reviewing delivery app image guidelines. Exact numbers vary by region, but these baselines pass review reliably.
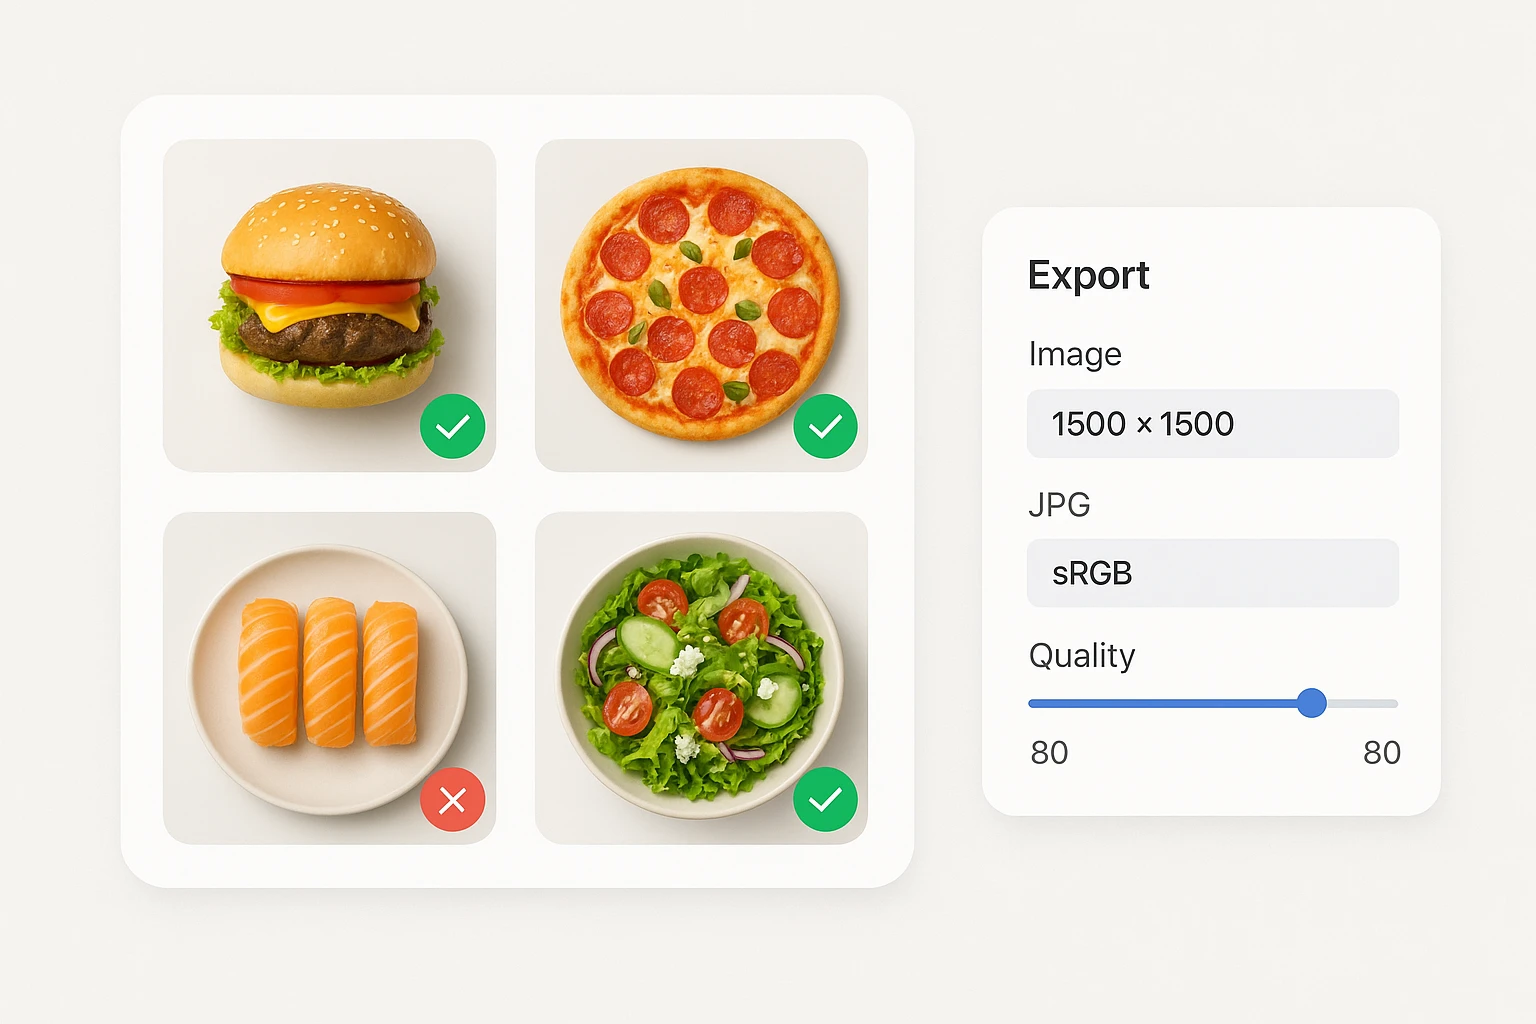
Common technical specs (safe baseline):
- Aspect ratio: 1:1 (square)
- Size: 1500 ? 1500 px (keeps detail without heavy files)
- Format: JPG (sRGB), quality ~80 (target <1.5 MB)
- PNG allowed but often heavier than JPG
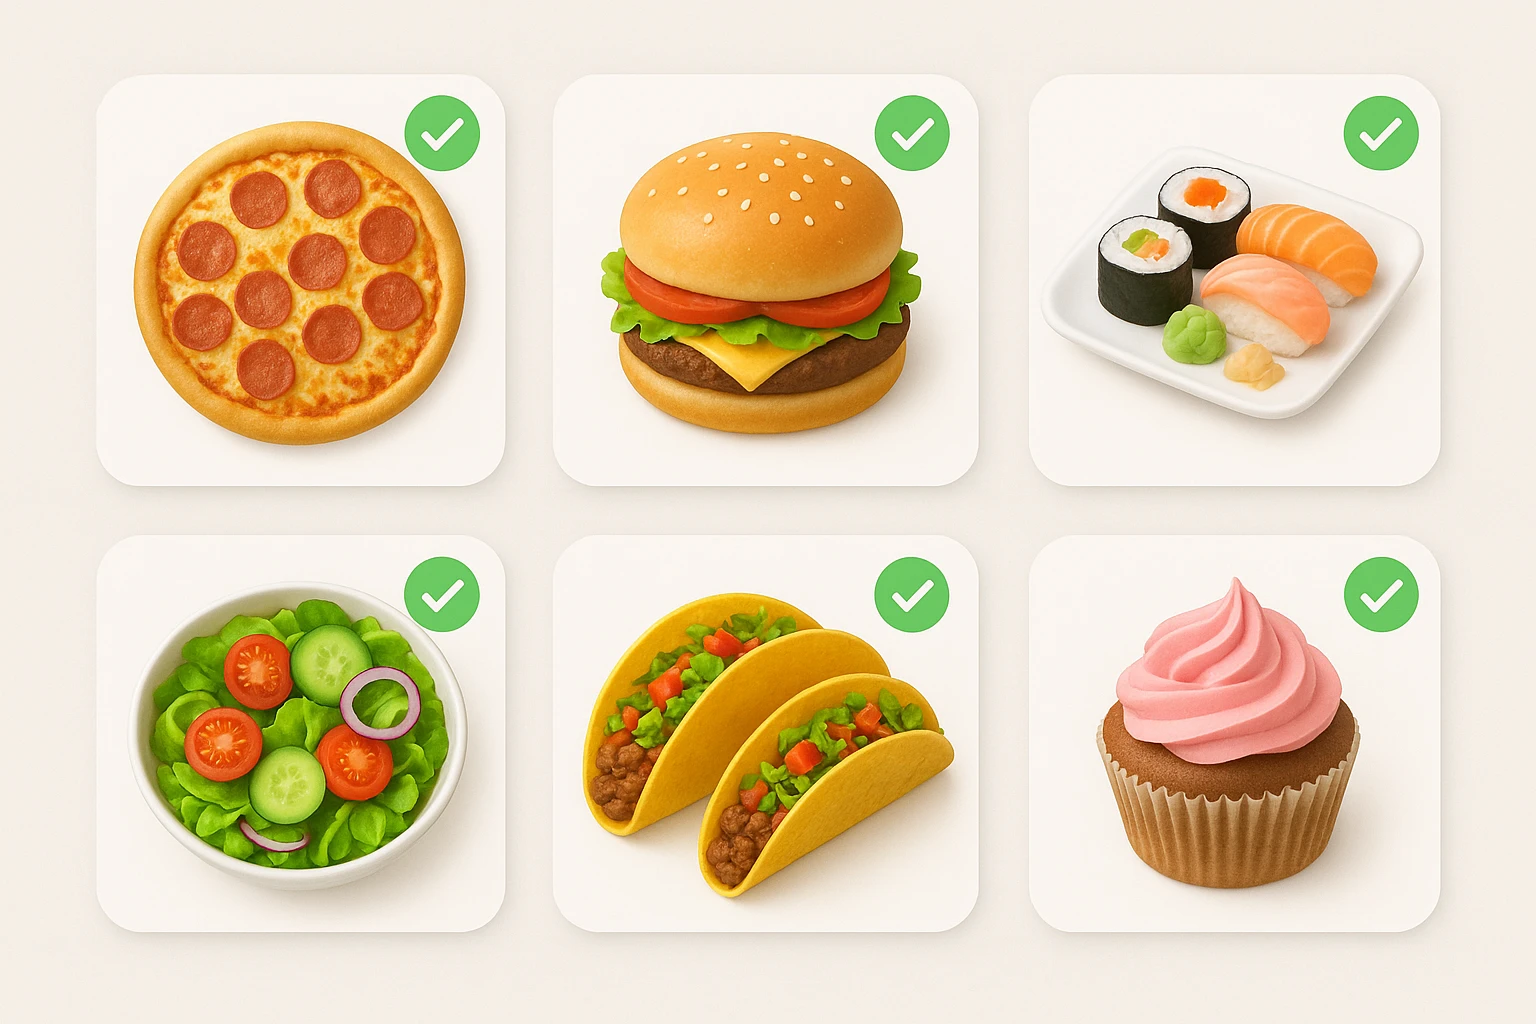
- Subject: Single menu item, clearly visible; no collages
- Background: Clean, neutral, minimal props
- Avoid patterned plates
Content rules (what gets rejected fast):
- No text overlays, prices, badges, or watermarks
- No brand logos on plates/napkins; packaging only if it’s the actual sellable item
- No hands, faces, or lifestyle scenes; avoid people and busy environments
- No excessive garnish, fake steam, or misleading portion sizes
Platform highlights (practical notes):
- DoorDash: Prefers tight, clear single-item crops; visible main ingredient; square thumbs in grid-keep a 5-7% margin so buns/edges don’t clip. DoorDash photo requirements are among the strictest for logo detection.
- Uber Eats: Conservative on text and logos; neutral backgrounds pass faster. JPG with modest sharpening looks best on their mobile app. Uber Eats image specs work reliably with the universal square preset.
- Grubhub: Auto-squares some uploads; if you feed a 4:3 image, expect important edges to crop. Export square to control the frame. Grubhub menu photos benefit from consistent 1500x1500 exports.
- Deliveroo/Just Eat: Similar to Uber Eats rules; safe neutral background and no props that suggest a different brand.
Two examples:
- Example A: A pizza uploaded at 1200?1200 JPG, no text, top-down crop with 8% margin-approved on Uber Eats and Grubhub within hours.
- Example B: A burrito photo with a branded napkin logo visible-rejected on DoorDash; removing the napkin and re-exporting square passed the same day.
Summary: Safe, cross-platform specs and the content rules that trigger rejections, plus platform-specific nuances and two concrete examples.
Section 2: Where uploads fail-and what it costs
Most rejections trace back to five issues when you don’t follow delivery app image guidelines: text, logos, clutter, wrong crop, or low resolution. Here’s what that looks like in real life and how it hits revenue.
Common failure points:
- Text/logo: A “2 for $10” sticker or branded napkin is an instant no. Expect 24-72 hours of limbo.
- Collages/multiple items: A three?dish sampler image when the item is a single taco will fail.
- Cropping: Feeding 4:3 photos to square slots clips toppings and buns; auto-crops are brutal on mobile.
- Low resolution: 800?800 looks soft on Retina screens; mushy fries = lower taps.
- Busy scenes: People, hands, and clutter confuse the algorithm and reviewers.
Cost math (hypothetical but realistic):
- A local burger shop planned a weekend promo on two apps. Their hero was rejected Friday for text overlay, resubmitted Saturday, approved Monday. With 70 orders/day and $17 AOV, a 12% drop for two days is ?$285 lost.
- A sushi bar uploaded 20 items at 4:3. The platform auto?cropped, trimming nigiri tops. CTR fell from 8.2% to 6.9% (2?week average). After re?exporting square with 8% margin, CTR recovered to 8.4% in 5 days.
Triage if you’re mid?promo:
- Fix content first: erase text/logos, remove hands/props. Re?export square at 1500?1500 JPG.
- Then check density: add mild sharpening and lift exposure +0.2-0.3 EV so the dish reads on dark mode.
Two quick wins:
- Replace any 4:3 hero with a square crop that keeps the key ingredient centered; this alone prevents 80% of avoidable crops.
- Export under 1.5 MB; snappier load speeds help taps on cellular connections.
Summary: The top five reasons images fail, the real cost of delays with numbers, and a two-step triage to rescue a live promo.
Section 3: Export presets that pass everywhere (with steps)
Use these delivery app image guidelines and presets to stop guessing. They’re conservative enough to clear review across major platforms while staying crisp on modern phones.
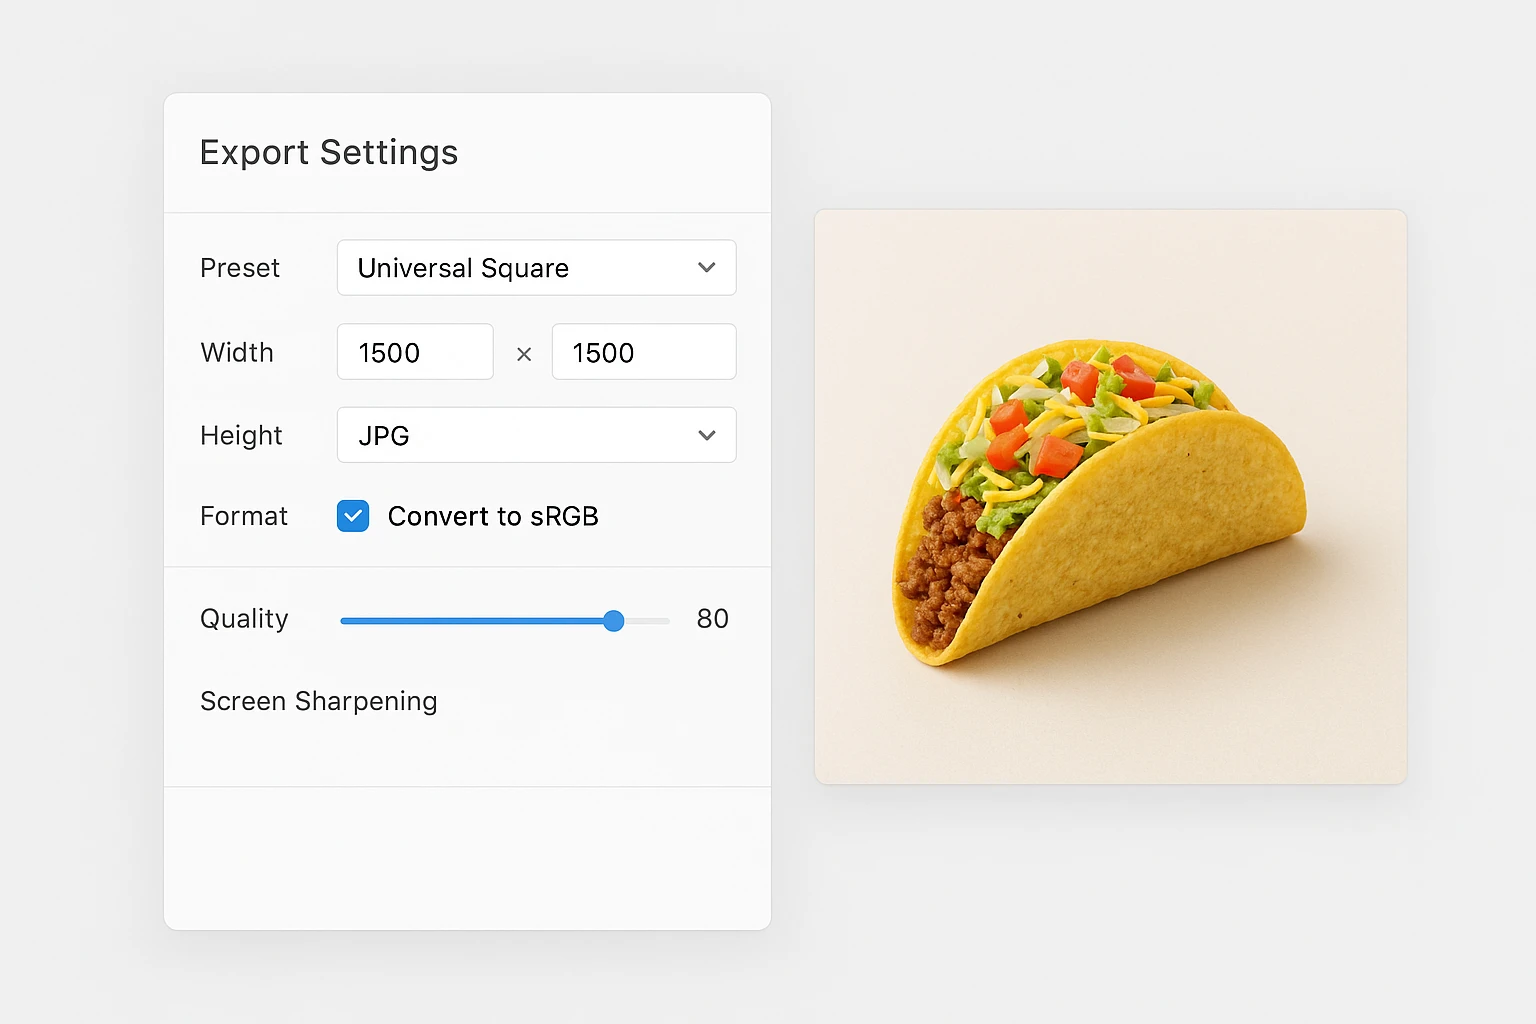
Preset 1: Universal Square (recommended for items)
- Size: 1500 ? 1500 px
- Format: JPG, sRGB, quality 80 (target <1.5 MB)
- Sharpening: Low/standard output sharpening for screen
- Margin: Keep 5-10% breathing room around the dish
Preset 2: Detail Square (sauces/texture?heavy items)
- Size: 2000 ? 2000 px
- Format: JPG, sRGB, quality 75 (keeps file below ~2 MB)
- Use for salads, sushi, and baked goods where texture sells
- Watch file size
Preset 3: Lightweight PNG (rare use)
- Size: 1200 ? 1200 px
- Format: PNG?8 if transparency is required by a specific integration (most don’t)
- Otherwise prefer JPG for size
Yummify-to-export workflow (fast):
- Generate the dish in your Branded Environment (e.g., “Delivery Clean: neutral background, 45° angle”).
- Produce 3 variations; pick the sharpest with the clearest hero ingredient.
- If needed, run a Quality Upgrade on the winner.
- Export as Preset 1. Name files: brand_item_variant_platform_YYYYMMDD.jpg (e.g., “northside_birria_taco_v2_ubereats_20250304.jpg”).
Alternatives without Yummify:
- Photoshop: Export As -> JPG -> 1500?1500 -> Quality 75-80 -> Convert to sRGB -> “Embed Color Profile” on.
- Canva: Resize to 1500?1500 -> Download JPG -> Quality 80-90 -> Color profile sRGB (default). Avoid adding text.
Two examples:
- A taco chain batch?exported 36 items at 1500?1500/80 quality; average file size was 900 KB; zero rejections on two platforms in one week.
- A bakery’s 2000?2000 cupcakes looked plasticky at Quality 90. Dropping to Quality 75 and adding light grain (1-2%) made frosting look natural and reduced files to ~1.6 MB.
Summary: Three export presets with exact settings, plus step-by-step for Yummify, Photoshop, and Canva, with file naming to speed approvals.
Section 4: Cropping and framing that convert-by cuisine
Crops do two jobs when following delivery app image guidelines: pass review and make the tap irresistible. Use these safe-zone rules and cuisine-specific angles.
Safe-zone math:
- Keep the hero ingredient in the center 80-88% of the frame. Leave 5-10% margin to prevent platform auto?crops from clipping buns, crusts, or garnish.
- Avoid corners for key elements; many apps apply subtle rounded corners to thumbnails.
Angles that work:
- Top-down (90?): Pizza, bowls, salads, charcuterie-geometry and color patterns read best.
- Three-quarter (35-50?): Burgers, sandwiches, stacks, pancakes-height reads, layers look juicy.
Cuisine examples:
- Burgers: 45? angle, front bun edge ~10% from frame edge, sesame seeds visible; add a single fry cluster at back (not touching burger) for scale.
- Sushi: Top-down with 8?piece set aligned; keep ends away from edges; soy/ginger off?frame to avoid clutter.
- Pizza: Top-down, slight rotation; include one clean slice separation; 8% margin so crust isn’t trimmed by auto?square.
- Curries/noodles: Top-down bowl centered; spoon off?frame; avoid steam effects.
Mini case study (hypothetical but based on typical results):
- A three?location burger brand replaced their 4:3 photos with 1500?1500 square, 45? crops and a light neutral background. Menu CTR on a delivery app improved from 7.1% to 8.1% over 14 days (+14% relative). No rejections. This delivery app image guidelines approach works well for burger chains.
- A sushi ghost kitchen tested top?down vs 30? angle on their rainbow roll. Top?down won by +9% clicks (8.9% vs 8.2%) and held the lead for 3 weeks.
Action step: For every dish, document “Angle + Margin” in your brand notes (e.g., “Burgers 45?, 10% margin; Bowls 90?, 8% margin”).
Summary: Safe-zone rules, angle recommendations by cuisine, two realistic test results, and a simple action step to standardize crops.

Section 5: 5-minute QC for AI images + rollout playbook
AI-enhanced photos look polished. But they can sneak in artifacts if you don’t follow delivery app image guidelines. Run this 5-minute checklist before you upload.
Content compliance (60 seconds):
- No text, prices, or logos in frame
- Single item only; no collages or sides unless sold together
- Background is neutral and uncluttered
- No hands or faces
Technical checks (2 minutes):
- Resolution ? 1500 ? 1500; file < ~1.5 MB (JPG, sRGB)
- Zoom 200%: edges are clean, no mushy textures
- Mild sharpening OK
- White balance: whites look white
- Avoid strong color casts
AI-specific artifacts (2 minutes):
- Repeating or impossible patterns (sesame seeds, grill marks too perfect)
- Warped cutlery, melted or plastic-looking cheese, floating garnish, double shadows
- Ingredients that don’t match the menu description
- Examples: cilantro showing on a “no cilantro” dish
Rollout playbook (8 steps, ~15 minutes for 10 items):
- Generate 3 variations per dish in Yummify using your Branded Environment.
- Shortlist the sharpest, most appetizing image.
- Upgrade quality on winners only.
- Export with Preset 1 and name consistently.
- QC with the checklist above.
- Upload to one platform first; confirm approval.
- Push to remaining platforms.
- A/B test two styles for 14 days (e.g., top?down vs 45?); keep the winner globally.
Two realistic scenarios:
- A kebab shop spotted duplicate parsley leaves (AI pattern). A quick regen fixed it in 5 minutes-far faster than reshooting.
- A cafe swapped a moody dark background for a light neutral and saw same?day approvals across two apps. The delivery app image guidelines results speak for themselves when you stick to neutral backgrounds.
Summary: A fast, practical QC checklist tuned for AI outputs, plus a simple 8-step rollout and two scenarios showing quick fixes and approvals.
Next steps
If you’ve been burned by uploads stuck in review, following delivery app image guidelines gives you a safety net. Create a “Delivery Clean” Branded Environment in Yummify, generate 3 variations per hero item, then export with the Universal Square preset (1500?1500 JPG, quality ~80). QC with the 5?minute checklist and upload to one platform first to validate, then roll it out everywhere. Most teams can refresh 20-30 items in an afternoon without a photoshoot, and you only upgrade quality on the images that prove they convert. Start with the Starter plan, test a single category, and keep what wins-no long-term risk, just faster approvals and cleaner menus. Try Yummify free
FAQ
Can I use my own photos as references?
Yes. Upload a decent phone photo with good light, and Yummify can restyle it into a compliant image. If the original has logos or clutter, crop or mask them out before generation to avoid repeating them. You can also start from a text prompt when you don’t have a usable reference. We recommend matching the final export to 1500?1500 JPG for delivery apps to ensure compliance.
Will delivery apps reject AI-generated images?
Platforms review content, not the tool you used. As long as the photo follows rules-no text, no logos, clean background, single item-they approve AI-styled images similar to standard photos. The main risk is artifacts (e.g., impossible reflections or odd garnish), which is why we include the 5?minute QC checklist. If you spot an artifact, regenerate or adjust and re-export before uploading.
How does this compare to hiring a photographer?
Traditional shoots cost roughly $150-300 per dish and require scheduling, styling, and edits that can take weeks. Yummify generates styled images in minutes, so you can refresh a whole category in an afternoon and A/B test multiple styles cheaply. Many teams still hire a photographer quarterly for premium campaign heroes and use Yummify for day?to?day menu images. This split keeps budgets predictable and menus current.
Do I need special equipment to get good results?
No. A recent smartphone and window light are enough for references; Yummify can also generate from text prompts. If shooting, place the dish near a window, turn off mixed lighting, and avoid strong shadows. Keep the background neutral and remove branded items. You’ll still export to the same 1500?1500 JPG preset.
What if my dishes include branded packaging?
If the packaging is the item being sold (e.g., a branded pizza box for a delivery-only brand), most platforms allow it as long as the logo doesn’t dominate the frame. When in doubt, show the food primarily and keep packaging secondary or out of frame. Avoid napkins, drink cups, or tableware with logos. If a photo gets flagged, crop tighter and re-export square.
How long does it take to learn this workflow?
Most teams get comfortable in a single session. A typical 10?item batch takes 60-90 minutes including generation, selection, export, and QC. After you save presets and a naming scheme, future updates are much faster. The key is consistency: same angle per category, same export settings, quick QC every time.
How do I know if new images are actually helping?
Run simple A/B tests. Upload two compliant styles (top-down vs 45°, light vs dark background) and keep each variant live for 10-14 days. Track menu CTR or views-to-orders ratio in your app dashboards. Make the winner your standard, then upgrade that image’s quality and roll it out to other platforms. Document winning angles in your brand notes for consistent results.
Related posts

15 Creative Food Photography Ideas to Make Your Dishes Stand Out
Discover creative food photography ideas to make your dishes stand out. Learn action shots, deconstructed dishes, unique angles, storytelling, and AI tools for stunning food visuals.

Beyond Burgers: AI Food Styling for Diets and Cuisines
Use AI food styling to create accurate vegan, gluten-free, halal, kosher, and global cuisine photos that convert across delivery apps, QR menus, and social.

Close the Loop: Tie Food Imagery to Analytics and Sales
Stop guessing which food photos work. Learn a simple workflow to tie Yummify images to analytics, A/B test visuals, and promote only the photos that actually sell.