Food Styling Techniques: Transform Any Dish (Beginner Guide)
Quick navigation:
Mastering the Basics: The Rule of Odds & Foundation
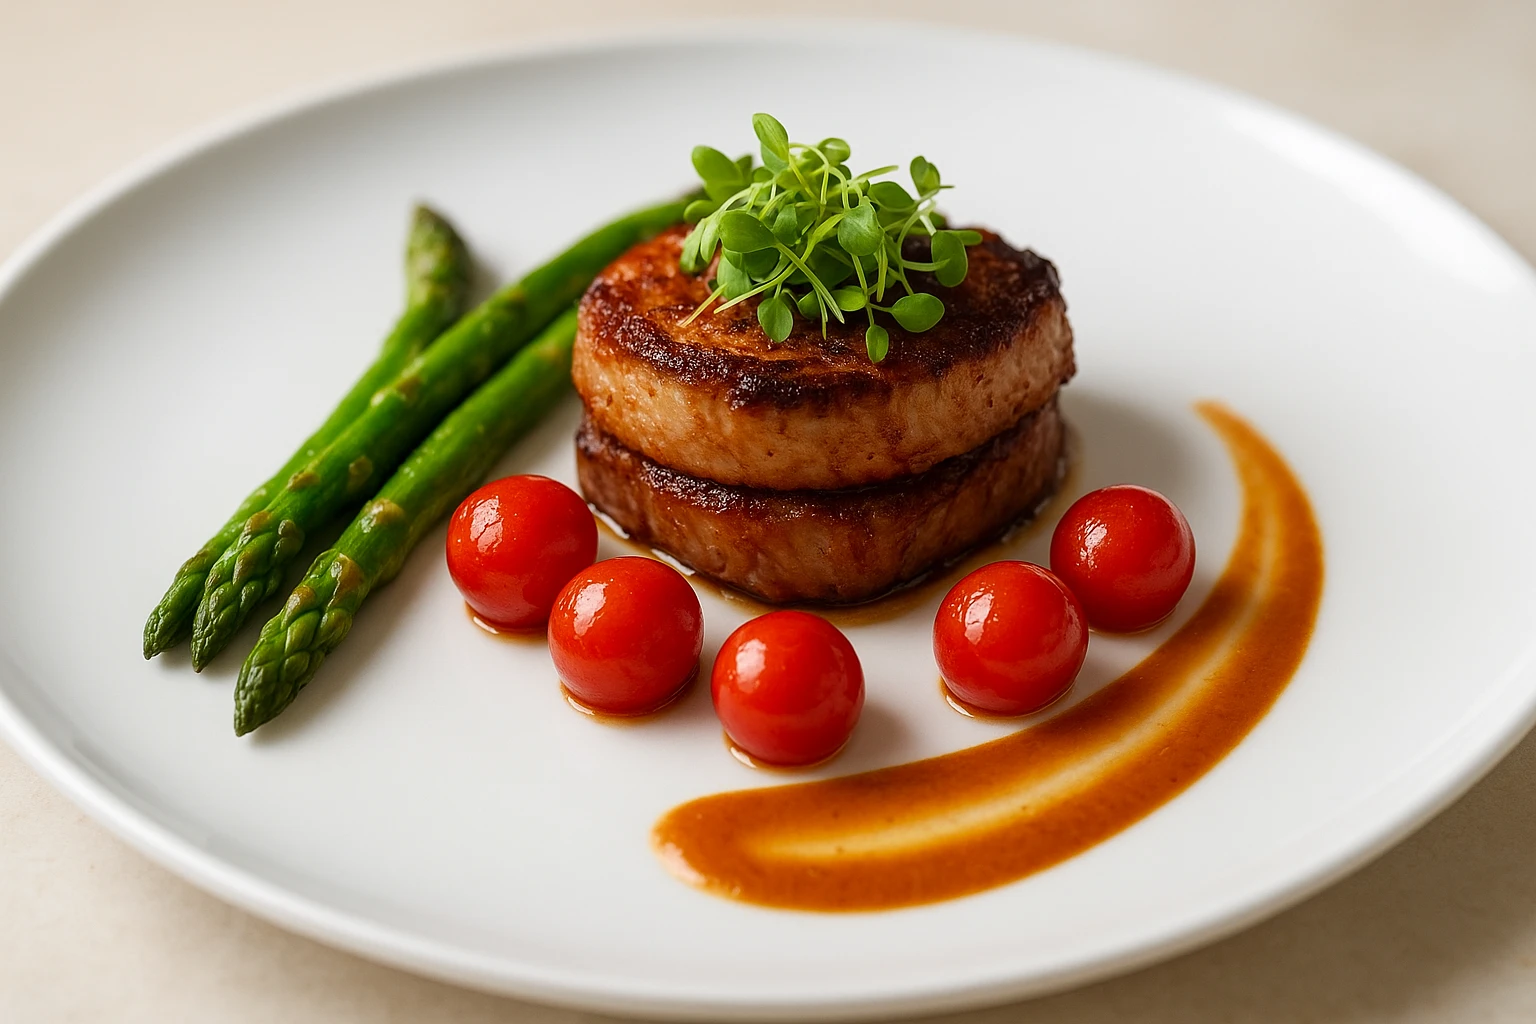
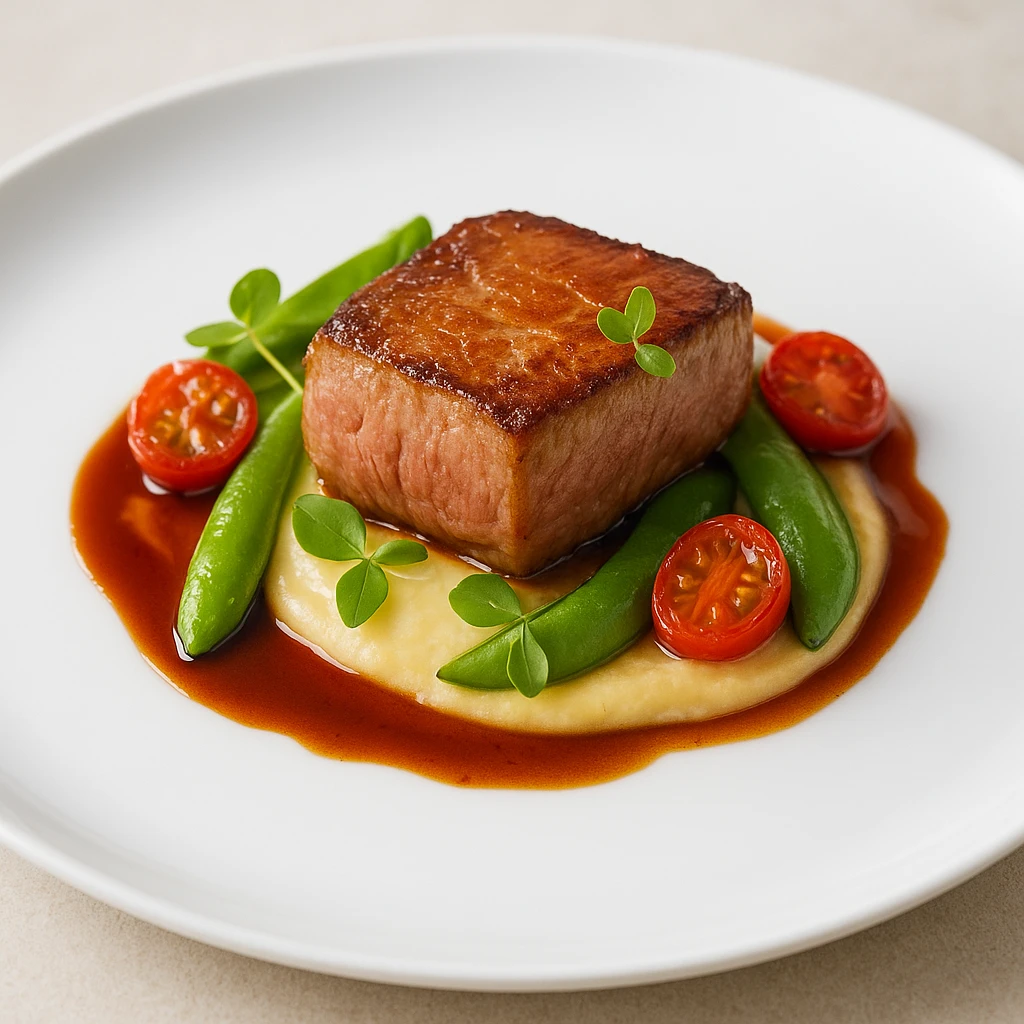
Understanding food styling techniques starts with the Rule of Odds, a fundamental principle that professional stylists use to create visually appealing plates. The concept is simple: arrange elements in odd numbers (3, 5, or 7) rather than even numbers. According to culinary experts at Auguste Escoffier School of Culinary Arts, odd-numbered arrangements create natural tension and movement that draws the eye across the plate https://www.escoffier.edu/blog/culinary-arts/a-guide-to-food-plating-and-presentation/. This psychological effect makes compositions feel more dynamic and less staged.
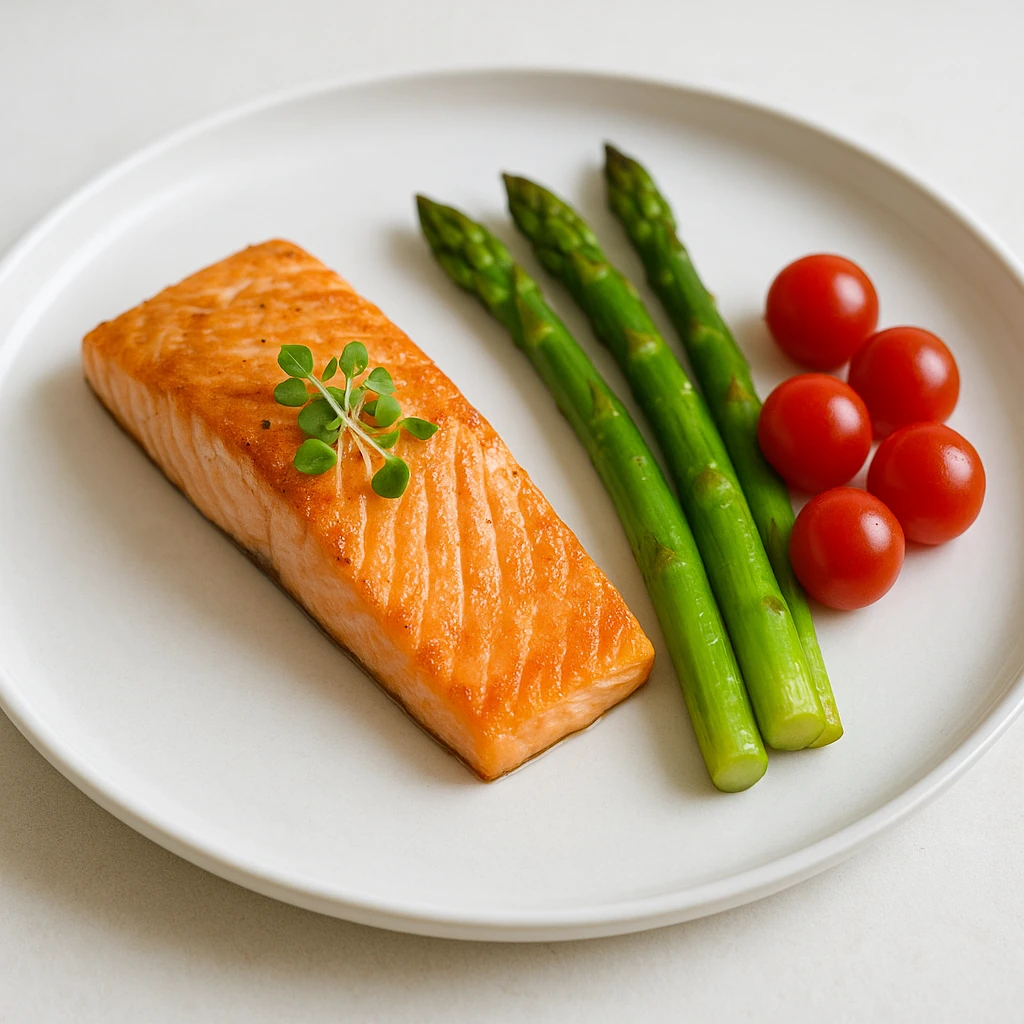
When applying the Rule of Odds, think beyond just the main components. Count everything on the plate: the protein, vegetables, starch, garnishes, and even sauce drizzles. If you’re plating a salmon dish, you might position the salmon fillet at an angle. Add three roasted asparagus spears. Place five cherry tomatoes. Finish with seven microgreen sprouts. Each odd-numbered grouping contributes to the overall visual harmony.
The foundation of your plate matters just as much as the arrangement. Start with the right plate size-oversized plates make portions look small, while crowded plates diminish perceived value. White plates provide a neutral canvas that lets colors pop, though textured plates can add depth when used strategically. Position your focal point slightly off-center rather than dead-center. This creates visual interest and follows the rule of thirds used in photography. Adobe’s food photography guide suggests that off-center placement feels more organic and less rigid https://www.adobe.com/creativecloud/photography/discover/food-styling.html.
Essential Plating Foundation Checklist
| Element | Recommendation | Why It Matters |
|---|---|---|
| Plate Color | White or cream | Neutral backdrop lets food colors stand out |
| Plate Size | Leave 30% empty space | Prevents overcrowding |
| Focal Point | Off-center placement | Creates visual interest |
| Element Count | Odd numbers (3, 5, 7) | Dynamic compositions |
| Background | Clean, uncluttered | Keeps focus on the food |
Building Visual Interest: Height and Layers
Creating vertical dimension is among the most transformative food styling techniques you can master. Flat plates lack the visual excitement that draws customers in. WebstaurantStore’s presentation guide emphasizes that height adds sophistication and makes portions appear more generous https://www.webstaurantstore.com/guide/580/basic-guide-to-food-presentation.html. Professional stylists achieve this through deliberate stacking and layering that looks intentional yet effortless.
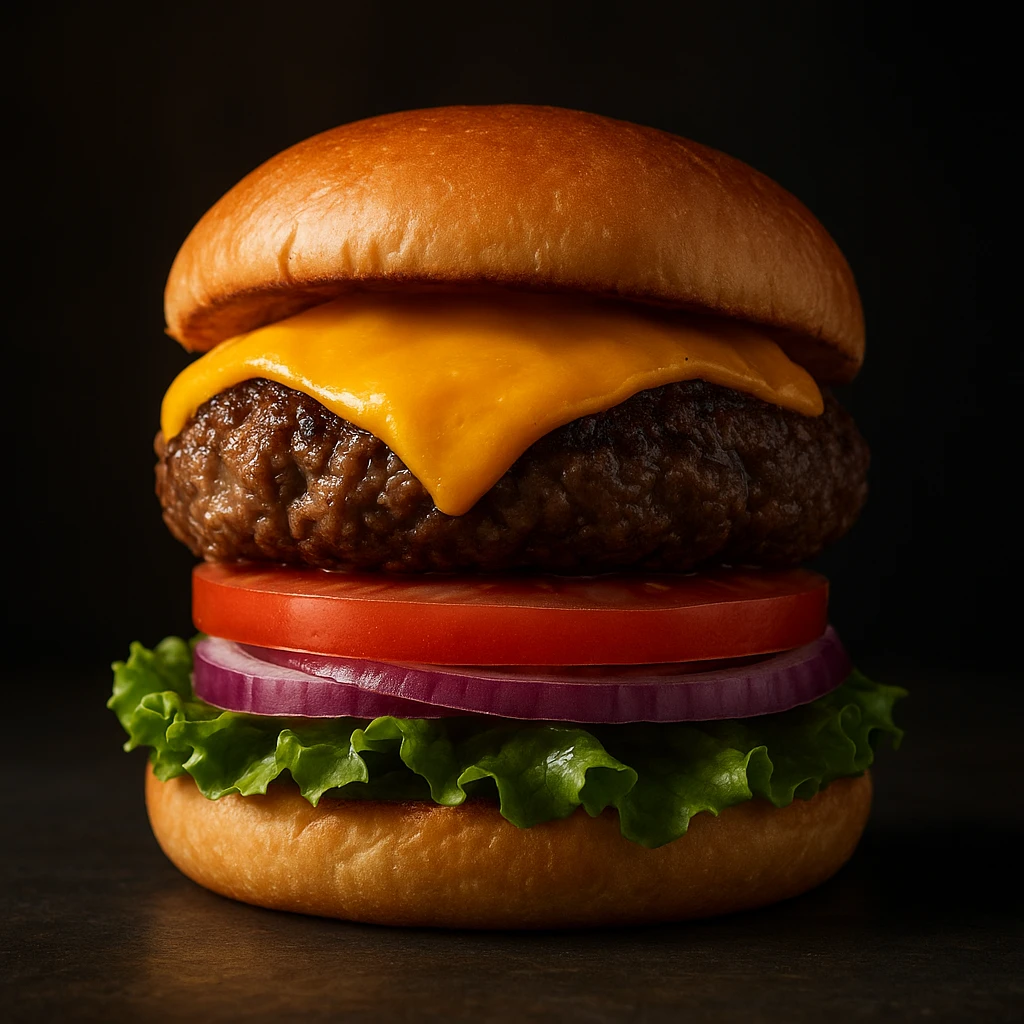
Start with your widest elements as the base. Salad components, sliced vegetables, or flat proteins create a stable foundation. Layer progressively smaller items on top, angling each layer slightly to show depth. For a burger, stack from bottom up. Start with the bottom bun as foundation. Add lettuce overhanging slightly. Layer tomato slices and onion rings. Place the patty angled to show thickness. Add cheese with corner folded back. Position the top bun askew or propped up. This approach showcases every ingredient rather than hiding them.
5 Steps to Build Height in Any Dish
- Identify stackable components: Proteins, vegetables, and starches that can layer without collapsing
- Create a stable base: Use the largest, flattest element as your foundation
- Angle middle layers: Position each layer to reveal what’s beneath it
- Top with delicate elements: Microgreens, shredded cheese, or drizzles go on last
- Use ring molds: For salads, grains, or layered sides, pack into a ring mold, then lift for instant height
Don’t limit height building to the main dish. Side dishes benefit from the same treatment. Mashed potatoes can be piped into a tower using a large star tip. Rice can be packed into a small bowl and inverted for a dome shape. Even coleslaw gains appeal when mounded rather than spread flat. The key is making height look natural, not forced. Gravity should appear to be the only reason elements aren’t higher.
Layering serves both visual and functional purposes. Beyond adding dimension, layers create opportunities for color contrast and texture variation. A lasagna cross-section shows distinct layers of pasta, ragu, bechamel, and cheese. A trifle reveals alternating custard, cake, and fruit layers. These visible constructions add complexity and suggest craftsmanship, both hallmarks of professional food styling.
Adding Flavor: Sauce Application and Garnish Placement
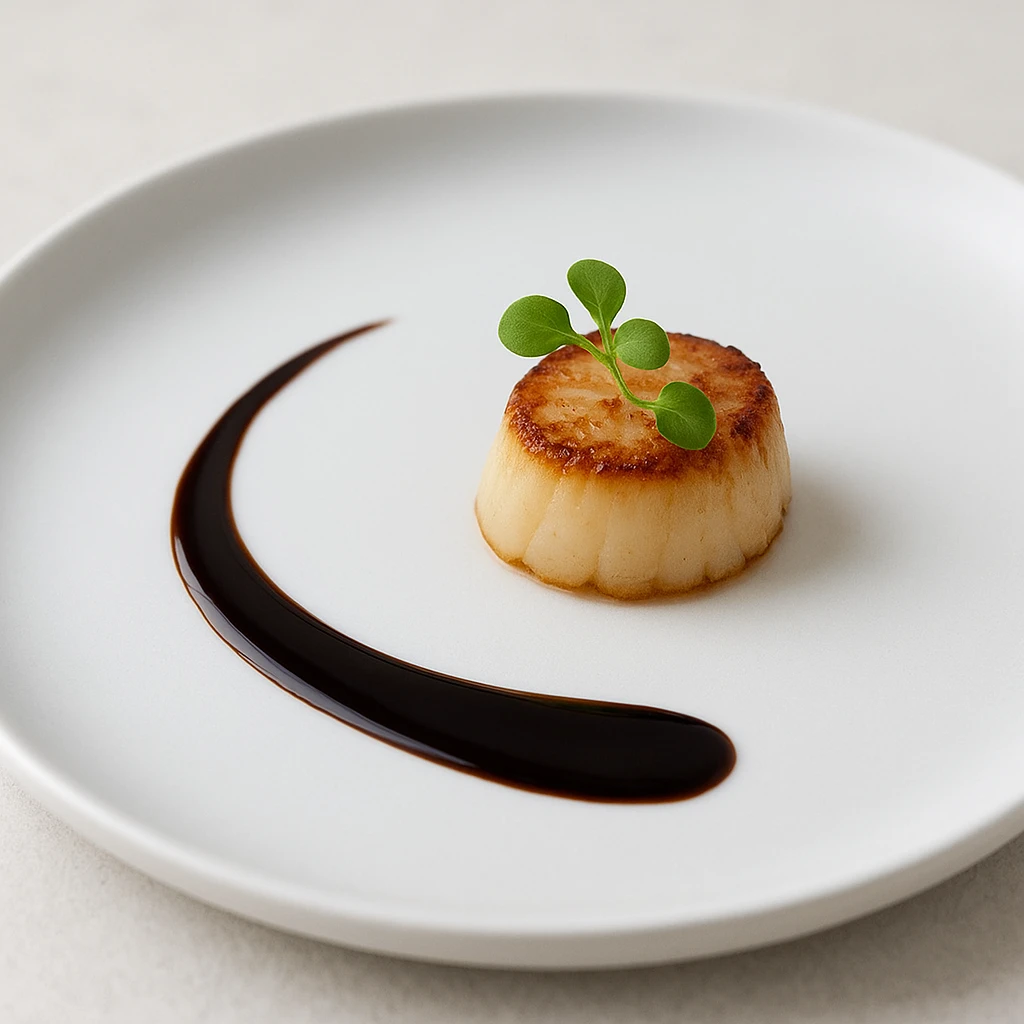
Sauces and garnishes represent the finishing touches that distinguish competent plating from exceptional food styling. Application method matters tremendously-a haphazard pour suggests carelessness, while deliberate placement signals intention and attention to detail. When practicing food styling techniques, think of sauces as an artistic medium rather than just a topping.
Sauce Application Methods
| Method | Best For | Technique |
|---|---|---|
| Spoon Swipe | Plates with empty space | Place sauce on plate. Drag spoon through in curved line |
| Dotted Circle | Centered compositions | Use squeeze bottle. Place dots in ring pattern around focal point |
| Free-Form Drizzle | Rustic presentations | Hold spoon above plate. Let sauce fall naturally in thin streams |
| Underplate | Clean, minimal look | Spread sauce first. Place food directly on top |
| Side Accent | Showing off edges | Pool sauce in one corner. Don’t let it touch main elements |
Temperature affects sauce behavior. Warm sauces spread more readily, making them ideal for underplating or broad swipes. Cold sauces hold their shape better, perfect for precise dots and controlled drizzles. If your sauce needs to be hot but you want precision, apply it just before serving and work quickly. Restaurant stylists often keep sauces at room temperature for plating, then gently reheat the entire dish before the final photo or service.
Garnish placement follows similar principles of intentionality. Random scattering suggests afterthought; deliberate positioning implies design. Position garnishes where they provide the most visual impact. A sprig of rosemary tucked beside roasted chicken echoes the herb’s flavor contribution. A lemon wedge placed opposite the protein adds color contrast and suggests acidity. Microgreens scattered across the highest points catch light and add fresh dimension.
Consider color contrast when selecting and placing garnishes. Red proteins like steak or roast beef benefit from green garnishes-herbs, arugula, or scallions. Fish dishes gain brightness from citrus wheels, capers, or chopped parsley. Hearty comfort foods like mac and cheese pop with breadcrumb toasts or diced tomatoes. The goal is enhancement, not camouflage. Garnishes should complement and elevate, not distract from or obscure the main attraction.
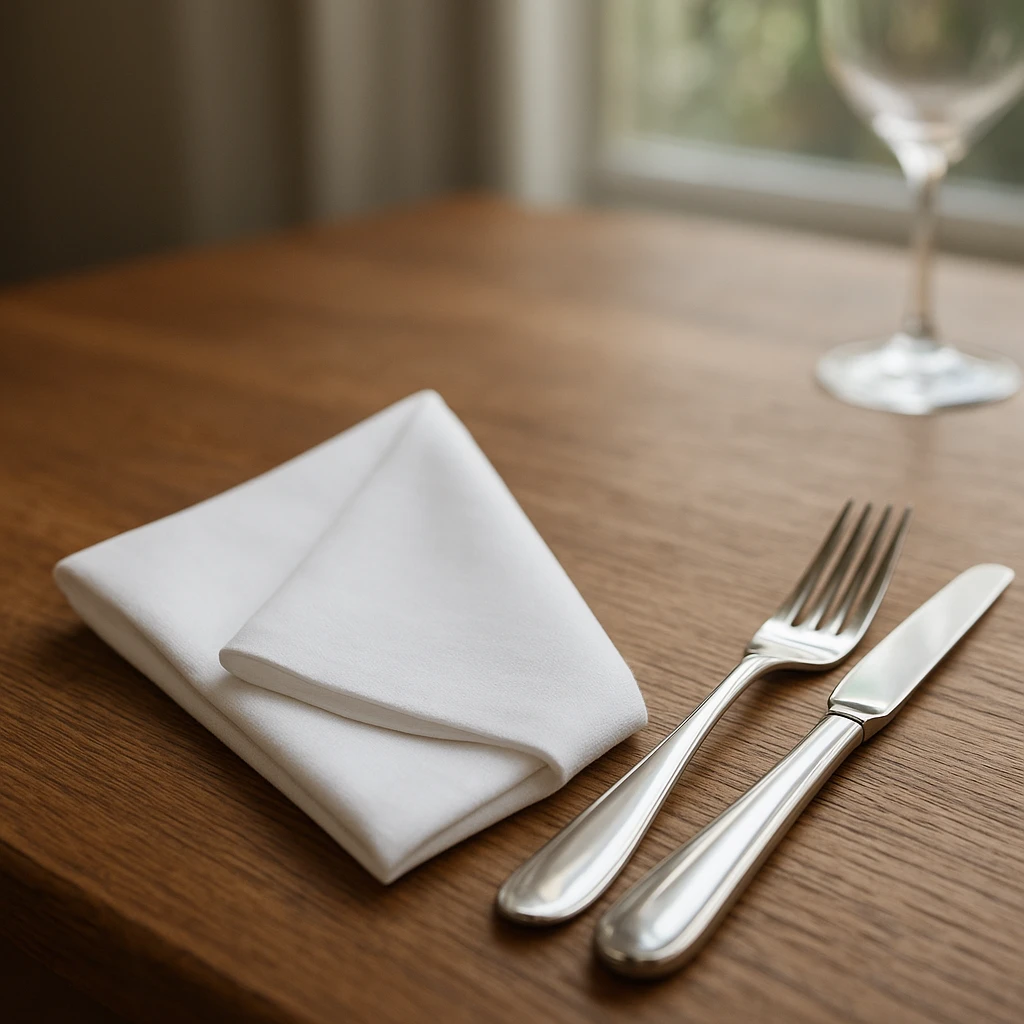
Setting the Scene: Utensil Styling and Napkin Folds
Professional food photography extends beyond the plate itself. The surrounding elements-utensils, linens, and background items-create context and tell a story. These environmental food styling techniques transform a simple dish photo into an evocative scene that suggests occasion, cuisine type, and dining experience. According to industry analysis, AI-powered food imagery platforms like Spyne emphasize that contextual elements significantly influence viewer perception and appetite appeal https://www.spyne.ai/blogs/how-ai-is-revolutionizing-food-photography.
Utensil positioning requires consideration of both aesthetics and implied usage. Forks should rest with tines down unless actively holding food. Knives position blade-facing inward for safety and psychological comfort. Spoons can either rest flat or be propped against a bowl’s edge, suggesting an interrupted moment. Silverware doesn’t need to be perfectly parallel-slight angles feel more natural and less rigid. The key is avoiding the appearance that utensils were randomly dropped.
Napkin Fold Styles by Dining Occasion
| Occasion | Recommended Fold | Difficulty Level |
|---|---|---|
| Casual Brunch | Loose roll with ribbon | Easy |
| Fine Dining | Classic fan or pocket fold | Medium |
| Outdoor/Patio | Simple rectangle or no fold | Easy |
| Holiday/Event | Elaborate rose or crown fold | Hard |
| Modern Minimal | Unfolded with intentional wrinkles | Easy |
Background elements reinforce the culinary narrative. A cocktail glass suggests a beverage pairing. A small ramekin with extra sauce implies abundance and customization. A scattering of the dish’s key ingredients-whole herbs, uncut vegetables, spices-hints at preparation and authenticity. These elements should support rather than compete with the main subject. Position them at the frame’s edges or keep them slightly out of focus through shallow depth of field.
Linens add texture and color. A crisp white tablecloth evokes fine dining. A checkered pattern suggests casual bistro. Rough-hewn linen or burlap implies rustic, farm-to-table cuisine. Wooden cutting boards, slate tiles, or marble slabs provide alternative surfaces that change the mood entirely. Match surface choice to your brand identity and the story you’re telling. If you’re developing a cohesive visual brand across multiple dishes, consistent surface styling helps create recognition and recall-something AI-powered branding tools help automate at scale.
Perfecting the Shot: AI Enhancement for Food Visuals
Modern food styling has evolved beyond physical techniques to include digital enhancement. AI-powered tools now complement traditional styling methods, offering refinement, correction, and elevation that would be difficult or impossible to achieve through manual techniques alone. These AI food styling techniques don’t replace physical preparation-they amplify and perfect it.
AI enhancement excels at correcting common photography issues. Poor lighting, a frequent challenge in restaurant environments, gets corrected automatically. Background distractions that compete with the main subject can be minimized or removed entirely. Color balance adjusts to make food look appetizing rather than washed out or overly saturated. Sharpness selectively applies to key areas while keeping softer backgrounds natural. These corrections happen in seconds, compared to the hours that traditional photo editing requires.
Beyond correction, AI enables creative exploration. Generate multiple style variations of the same dish-bright and airy for a lunch menu, dark and moody for a dinner special, minimal and clean for a modern aesthetic. Each variation serves different marketing contexts and customer preferences. A/B testing becomes feasible when generating dozens of options takes minutes rather than days. This iteration helps identify which visuals drive engagement and orders, turning styling into a data-driven practice rather than purely aesthetic.
Before & After: AI Enhancement Capabilities
| Aspect | Traditional Approach | AI-Enhanced Approach |
|---|---|---|
| Lighting | Reshoot with better setup | Automatic brightness and contrast optimization |
| Background | Physical styling takes 20-30 minutes | Generate alternatives in seconds |
| Color Correction | Manual editing in Photoshop | One-click white balance adjustment |
| Style Variations | Multiple photoshoots needed | Generate unlimited variations from one source |
| Consistency | Depends on photographer’s memory | Branded environments apply settings automatically |
For restaurant marketers, the efficiency gains prove transformative. Where traditional food photography requires scheduling photographers, renting studios, and hiring stylists-a process taking weeks and costing thousands-AI-powered styling works within existing workflows. Photograph dishes during prep or service using available light, then enhance digitally. Update entire menus in an afternoon rather than over months. Test seasonal concepts without committing to full photoshoots. Ghost kitchens and virtual brands gain professional imagery despite lacking physical dining spaces for traditional shoots.
The most effective approach combines physical and digital food styling techniques. Start with solid fundamentals-good composition, thoughtful plating, intentional garnish placement. These foundations remain essential. Then use AI to refine lighting, adjust colors, and explore variations. The physical styling provides authenticity and substance; AI enhances and elevates. This hybrid approach uses the strengths of both methods, delivering professional-quality imagery at scale and speed that traditional methods alone cannot match.
Next steps
Ready to transform your food visuals with professional styling? Try Yummify’s AI-powered platform helps you create consistent, on-brand imagery for menus, social media, and delivery apps. Upload your existing photos or start from a text prompt-generate styled variations in minutes, not weeks. Build your branded environment once, apply it across your entire menu, and maintain visual identity across all channels. See how AI-enhanced food styling can elevate your brand.
FAQ
What are the most essential food styling techniques for beginners?
Start with the Rule of Odds-arrange elements in groups of 3, 5, or 7 for dynamic compositions. Build height through layering and stacking rather than spreading everything flat. Apply sauces intentionally using spoon swipes, dotted circles, or controlled drizzles rather than random pouring. Position garnishes where they provide color contrast and visual interest. Finally, ensure your foundational elements-plate size, color, and focal point placement-set the stage for appealing presentation.
How does the Rule of Odds work in food styling?
The Rule of Odds states that arrangements with odd numbers of elements (3, 5, or 7) appear more dynamic and natural than even-numbered groupings. This principle comes from photography and art theory. Count all elements on your plate: protein, vegetables, starches, garnishes, even sauce dots. An arrangement might feature three asparagus spears, five cherry tomatoes, and seven microgreen sprigs. The resulting composition feels balanced yet engaging, with natural movement that draws the eye across the plate.
Can I use AI tools alongside traditional food styling techniques?
Absolutely. AI enhancement complements rather than replaces physical styling. Apply fundamental techniques- thoughtful composition, height building, intentional sauce work, and strategic garnish placement-during preparation. Then use AI tools to refine lighting, correct colors, remove background distractions, and generate style variations. This hybrid approach gives you authenticity from physical styling plus efficiency and creative exploration from AI enhancement. The best results combine both methods.
What’s the difference between food styling and food plating?
Food plating refers specifically to arranging food on the plate for service-portion placement, sauce application, and garnish positioning. Food styling is broader, encompassing plating plus all visual elements including utensil positioning, napkin folding, surface and background selection, lighting design, and digital enhancement. Plating happens in the kitchen; styling extends through photography and post-production. Think of plating as one component within the larger food styling discipline.
How do I make my food photos look professional without expensive equipment?
Focus on fundamentals first. Use natural light from a window-avoid direct sunlight, which creates harsh shadows. Choose clean, uncluttered backgrounds in neutral colors. Apply plating techniques like the Rule of Odds and height building. Style utensils intentionally rather than randomly. Then use AI enhancement tools to correct lighting, adjust colors, and refine composition. Many professional-looking food photos come from good styling plus smart AI correction rather than expensive camera gear.
What common mistakes should I avoid when styling food for photos?
Avoid overcrowding plates-leave at least 30% empty space for breathing room. Don’t use even-numbered element groupings, which feel static. Skip random sauce splatters; apply sauces deliberately. Never position garnishes that hide rather than highlight the main dish. Avoid clashing colors-think about color contrast before plating. Don’t neglect background elements-utensils and linens should support, not distract from, the food. Finally, avoid styling that looks too perfect or artificial; some natural variation looks more authentic and appetizing.
How can AI tools help with food styling for restaurant marketing?
AI-powered platforms enable rapid iteration and testing at scale. Generate multiple style variations of the same dish for different marketing contexts-casual for social media, elegant for fine dining promotions, minimal for modern aesthetics. Create consistent imagery across locations using branded environments that apply exact styling parameters automatically. Update seasonal menus in hours rather than weeks. Test which visuals drive engagement on delivery apps and social channels. Ghost kitchens and virtual brands gain professional imagery without physical dining spaces for traditional shoots.
Related posts

15 Creative Food Photography Ideas to Make Your Dishes Stand Out
Discover creative food photography ideas to make your dishes stand out. Learn action shots, deconstructed dishes, unique angles, storytelling, and AI tools for stunning food visuals.

Beyond Burgers: AI Food Styling for Diets and Cuisines
Use AI food styling to create accurate vegan, gluten-free, halal, kosher, and global cuisine photos that convert across delivery apps, QR menus, and social.

Close the Loop: Tie Food Imagery to Analytics and Sales
Stop guessing which food photos work. Learn a simple workflow to tie Yummify images to analytics, A/B test visuals, and promote only the photos that actually sell.