How AI is Revolutionizing Food Photography for Small Restaurants
Quick navigation:
- 1. Why AI Food Photography Is Finally Built for Small Restaurants
- 2. From Smartphone Snap to Menu-Ready: A Simple AI Workflow
- 3. Brand Safety, Honesty, and Consistency in AI Food Imagery
- 4. Turning AI Photos into Revenue: Menus, Apps, and Campaigns
- 5. Build a Repeatable AI Visual System, Not One-Off Magic
1. Why AI Food Photography Is Finally Built for Small Restaurants
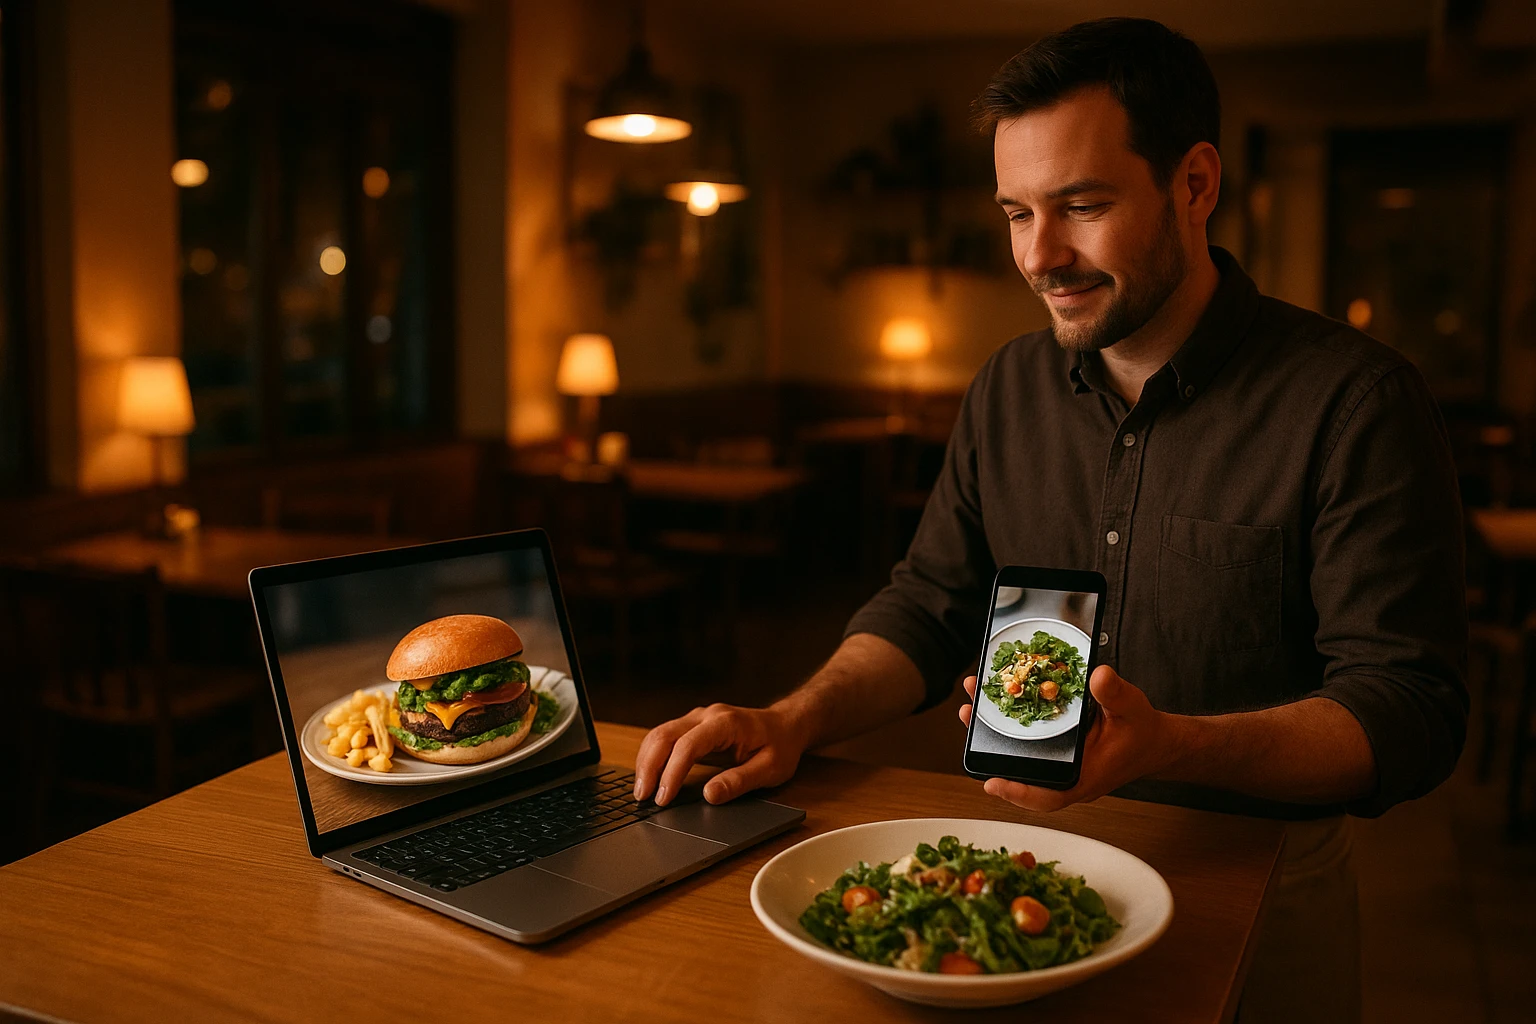
A familiar scene: it’s close to midnight. You’re scrolling through a delivery app. Your burgers or biryanis look small, dark, and cramped next to the big chains’ glossy photos. The food in-house is great. The photos make it look like an afterthought.
For years, the fix was a big photoshoot. You needed a pro, a stylist, and a full day. That’s hard when you’re juggling labor, rent, and food costs. Yummify exists because AI now makes pro photos possible. You just need a phone, a window, and a simple process.
Why better photos now matter more than ever
On delivery apps, the photo is often your only chance. DoorDash says to use bright, close shots. They note that good images get featured and clicked more in their guides (see their guide). If your dishes look dull or tiny, guests swipe past. The app learns you’re not a top choice.
Off-app, Google and Maps work the same way. Strong food photos help people choose where to eat. When your images look mixed or old, your reviews do all the work with no visual help.
What AI changes for small operators
Generative AI isn’t just a novelty filter anymore. It can now:
- Fix bad lighting and white balance from a quick phone snap.
- Extend and clean up backgrounds so any table can look like a mini studio.
- Apply a consistent style-“bright fast casual” or “cozy trattoria”-across every dish.
Restaurant Business Online reports that shops use AI to speed up marketing. They keep visuals fresh between big campaigns. Yummify turns that AI power into restaurant tools. You get brand style presets, simple uploads, and exports sized for apps and menus.
This AI food photography for small restaurants approach lets you refresh 5-10 top dishes in the next 30 days instead of one big shoot per year.
Quick checklist: Are you leaving money on the table?
- Your top sellers have photos older than 12 months.
- Thumbnails on delivery apps look dark, zoomed out, or inconsistent.
- Google Images for your restaurant show old dishes or guest photos you’d never print.
- You avoid seasonal menu changes because you “don’t have the photos.”
Invite the reader to quickly compare their current delivery-app photos to nearby competitors and note where their images feel small, dark, or inconsistent.
Summary: Section 1 compares costly photo shoots with AI workflows. It explains why good food photos help people find and order from you. Yummify offers a practical way for small spots to refresh 5-10 key dishes in 30 days.
2. From Smartphone Snap to Menu-Ready: A Simple AI Workflow
You don’t need a DSLR, Lightroom, or a day off to get good food images. You need a simple habit and a workflow your team can use between orders.
Here’s a seven-step flow that turns a phone shot into images ready for your apps and menus with Yummify.
Smartphone-to-AI Workflow: 7 Simple Steps
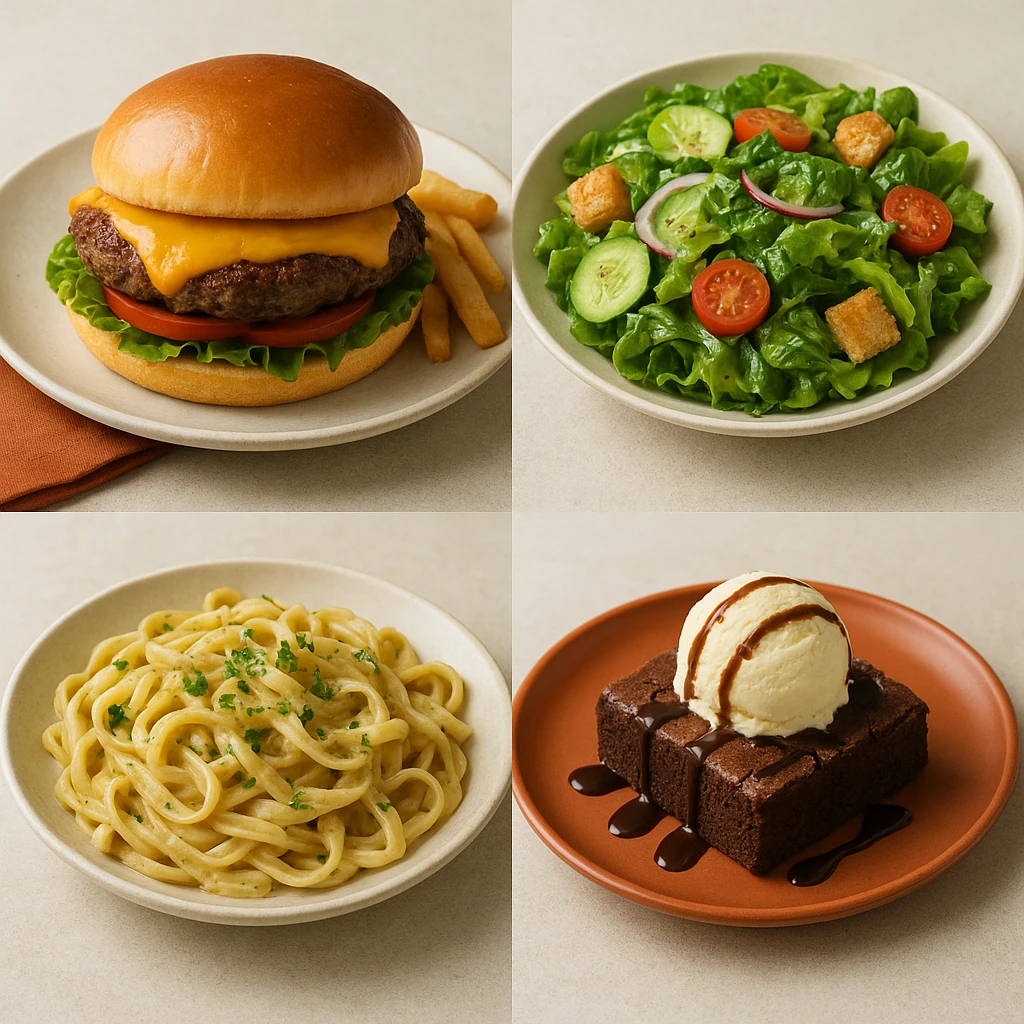
- Pick 3-5 priority dishes. Think: top sellers, signature items, or anything you’re pushing in promos.
- Capture 3-4 angles near a window. Seat a plate by a bright window or open door, turn off flash, and shoot:
- Overhead (flat lay)
- 45? angle (how guests see it)
- Close-up on key texture (melted cheese, sear, garnish)
- Keep the scene clean. One neutral plate, one napkin, no messy tickets or POS in the frame.
- Upload to Yummify and pick your preset. Choose a food style (e.g., “modern ramen bar,” “rustic taco shop”) so each dish looks like it belongs.
- Apply AI enhancements. Yummify brightens food, fixes color, straightens plates, removes crumbs, and extends backgrounds. You can crop for any channel.
- Generate 2-3 safe variations. Same portion and plating, but different crops: tight thumbnail, full-plate shot, and a wider “table” version.
- Export ready-to-use sizes. Download app photos, menu images, and social crops. They come sized and labeled.
This matches the basics from the DoorDash food photography guide: bright light, simple backgrounds, close crops. But it automates the manual work.
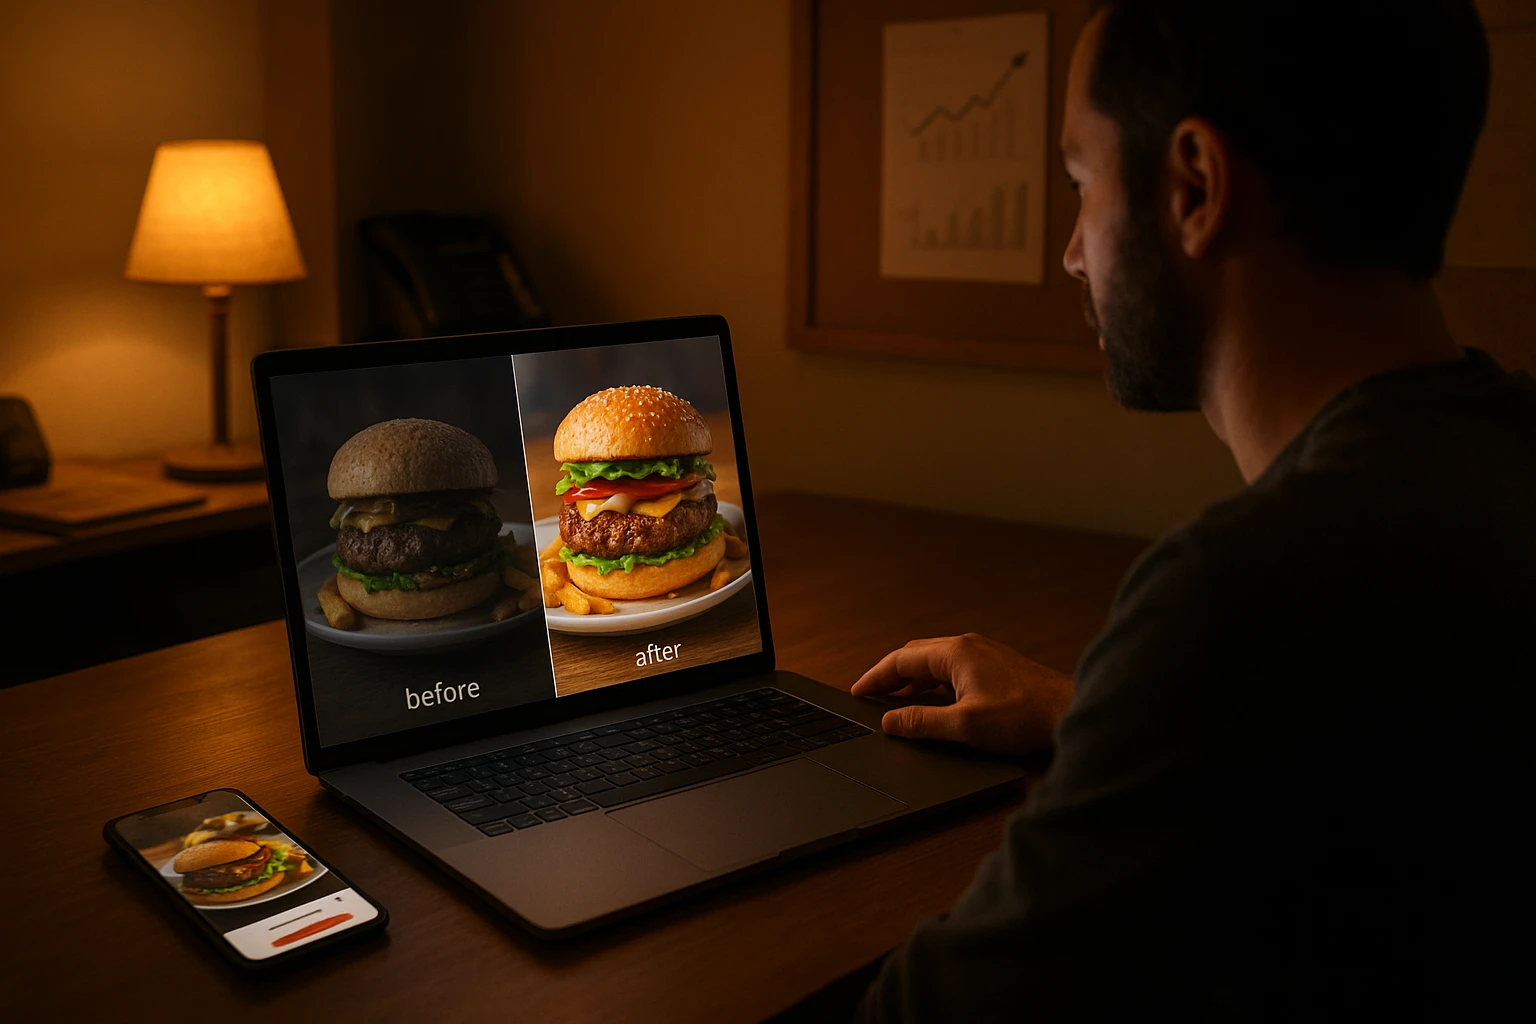
Want to see this in action? Watch this short tutorial. It shows how a basic phone food photo turns into a gourmet image with AI.
How Yummify keeps this honest (and fast)
Tools like Photoshop now have Generative Fill to remove clutter and extend backgrounds. But they need pro skills (Adobe explains how). Yummify builds that power into simple controls. Your team just clicks a preset. No need to master layers and masks.
Example: a small ramen shop shoots bowls under harsh fluorescent light. Upload to Yummify. The AI warms the tones, cuts glare on the broth, cleans up chopstick wrappers. It outputs a tight crop for delivery thumbnails. It doesn’t change noodles, toppings, or portion size.
Another example: a pizza shop using AI food photography for small restaurants with a small prep counter uses the same window light and preset every Friday. They capture new slices and update restaurant menu photos each night before the weekend rush. The AI makes 2-3 versions of each dish that work across delivery apps and in-house displays.
Skim checklist: capture routine your staff can follow
- One spot near a window, marked with tape so everyone uses the same area.
- Default 3 angles per dish; no flash, no direct overhead ceiling lights.
- One neutral plate color for most items.
- End-of-shift upload to Yummify from the manager’s phone.
Next: Ask the reader to pick one hero dish today. Run it through a simple capture-and-AI workflow as a test.
Summary: Section 2 shows a step-by-step workflow with Yummify. You pick hero dishes and capture shots by a window. Then apply AI changes, make safe versions, and export files for each channel.

3. Brand Safety, Honesty, and Consistency in AI Food Imagery
Most owners have the same concern: “If AI makes my food look too perfect, will guests feel tricked?” That’s the right question to ask.
The goal of AI food photos is honest enhancement. Fix the photo, not the food. Here’s how to draw that line and stay on-brand.
Honest and On-Brand AI Food Imagery Checklist
- The image matches the real portion and plating your kitchen serves at 6 p.m. on a Friday.
- Light and color tweaks make it look good. But don’t change ingredients (no adding avocado you don’t serve).
- No AI-added garnishes, sauces, or props that won’t appear in real service.
- Backgrounds look neutral or like your spot. Not like a luxury hotel if you’re a counter-service shop.
- Any “gluten-free,” “vegan,” or “nut-free” dishes look accurate. Cross-check them with recipes.
- Every photo passes a simple test: Would a guest feel tricked comparing this to what arrives at their table?
AI tools can swap in new ingredients or create impossible portions. Photoshop’s Generative Fill makes this easy (Adobe’s guide shows how far you can push). Don’t push it that far for menu photos.
Make consistency a feature, not a struggle
Consistency is where AI helps your brand. Instead of each staff member editing photos differently, you:
- Set up a visual brand kit once (plates, surfaces, colors, framing).
- Save that as a branded environment in Yummify.
- Apply that look to every new dish photo. Everything will match.
For a small Mediterranean cafe, that means: pale stone backgrounds, natural linen, warm light, simple white plates. Every dish shares that look. Shot last week or last year, it all matches. AI food photography for small restaurants creates consistency without weekly manual edits.
Gartner advises setting clear rules and reviews when using AI in marketing (Gartner’s guidance on AI). Yummify helps by letting you lock in safe prompts and styles. Then require a quick human review before export.
Skim checklist: your AI guardrails
- Only fix light, clutter, and crop; don’t change ingredients or portion size.
- Use one or two branded environments for all dishes.
- Require a manager to approve any new AI photo before it goes live.
- Recheck imagery whenever recipes or plating change.
Next: Ask the reader to check their top 10 menu images. Mark any that might feel misleading or off-brand compared to what guests actually get.
Summary: Section 3 covers honesty and brand safety in AI food photos. It gives a clear checklist for good changes. It explains how a brand kit plus Yummify presets keep images consistent. It suggests simple rules to follow.
4. Turning AI Photos into Revenue: Menus, Apps, and Campaigns
Strong food photos only matter if they show up where guests order. The good news: you don’t need to fix every channel at once.
Start by using AI food images where one better photo can boost revenue this week.
Where to Use AI Food Photos First
| Channel | Impact Focus | Quick Win Example |
|---|---|---|
| Delivery apps | Get more clicks and orders | Replace dark thumbnails of bestsellers. Use bright close-ups that show key ingredients. |
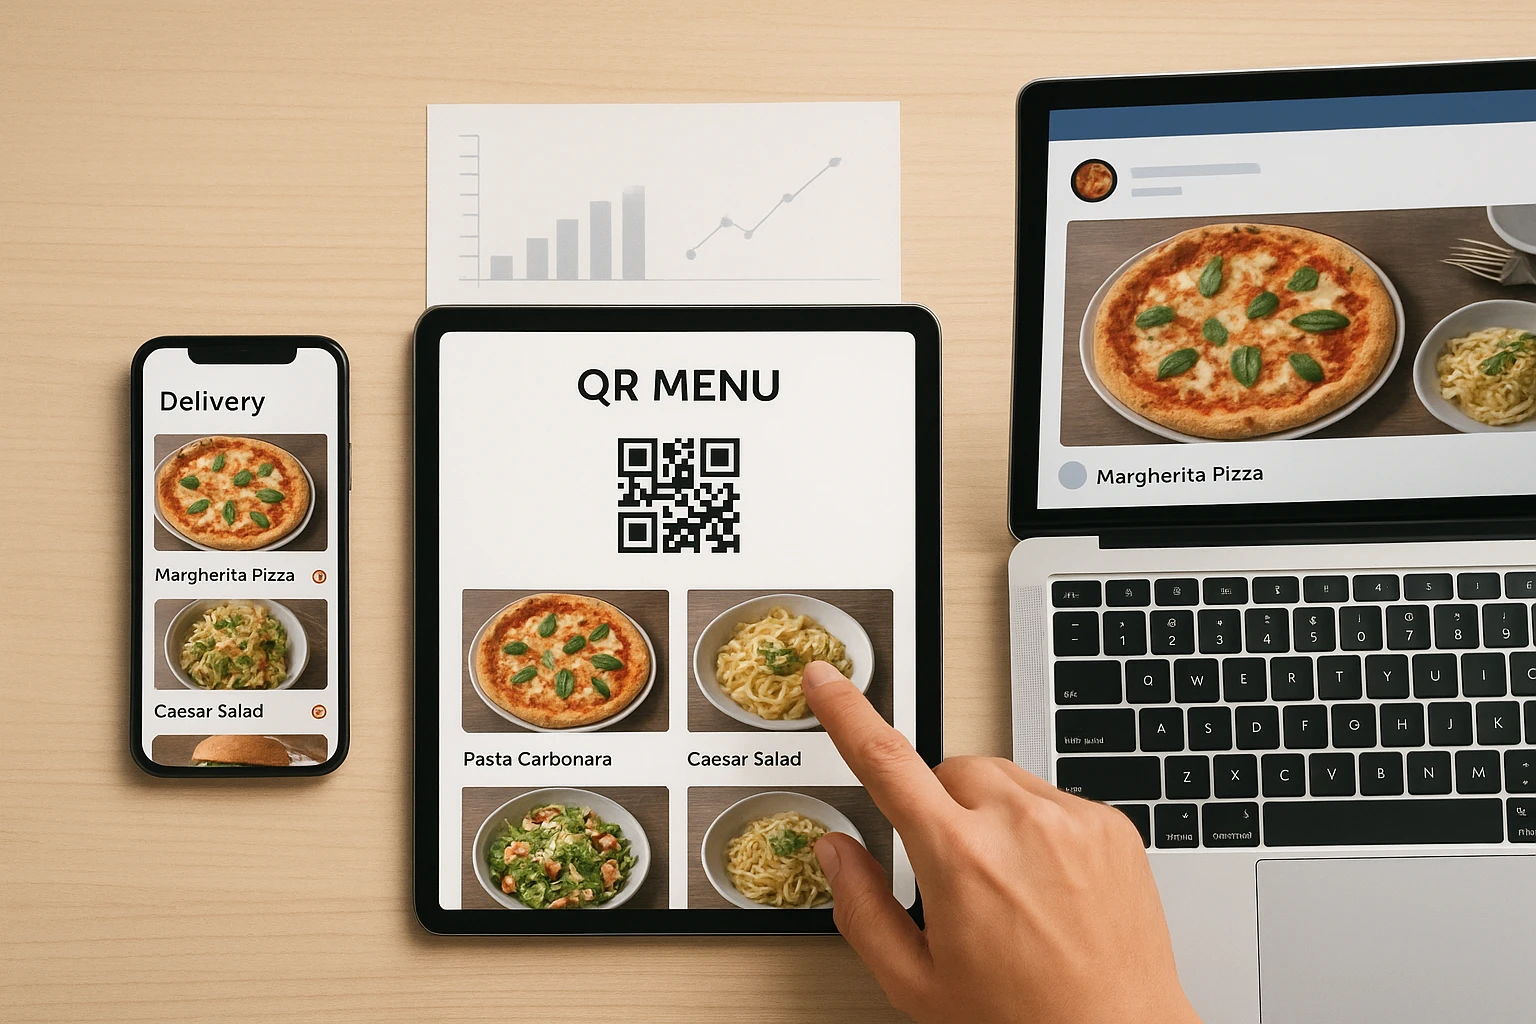
| QR menus | Boost upsells and speed choices | Add tasty photos to high-margin add-ons and shareables. This nudges impulse orders. |
| Google & Maps | Improve discovery and first looks | Refresh your cover photo and top dishes with clean, high-res images. Match your current menu. |
| Social media | Stay top-of-mind and test looks | Post AI versions of one hero dish. See which style gets the most saves and comments. |
| Catering pages | Get more large-order inquiries | Show styled platters and buffets so guests can picture group orders. |
A realistic sequence:
- Week 1-2: Delivery apps. Swap photos for 5-10 key items. Watch clicks and sales in your delivery dashboards.
- Week 3: QR menus. Add photos to items guests ask about most: shareables, desserts, signature drinks. For more tips, see QR Menus That Convert: Best Practices with AI Visuals.
- Week 4: Google & social. Refresh your Google Business Profile cover image. Then schedule a week of posts from the same Yummify batch.
Restaurant Business Online notes that AI visuals help shops respond faster to trends. Instead of waiting weeks for a shoot, you can create a themed photo set in an afternoon. Then use it across every channel.
Measuring impact without a data team
You don’t need a data team to see what works. Start with:
- Click-to-order rate on delivery apps (views vs clicks on an item).
- Add-to-cart rate once someone views the item.
- Sales mix before and after the new photo goes live.
With Yummify workflows, you can make 2-3 thumbnail versions per dish to test which delivery app food photos perform best. Upload one for two weeks. Then swap in another and compare results.
Skim checklist: your first 30-day rollout
- Pick one app (DoorDash, Uber Eats, or similar). Pick one in-house channel (QR menu or printed board).
- Refresh photos for 5-10 dishes in Yummify and upload.
- Record baseline metrics, then recheck in 2 and 4 weeks.
- Keep any photo that beats the old one on clicks and orders. Archive the rest.
Next: Ask the reader to pick one channel (delivery app, QR menu, or Google). Refresh it with 5-10 AI photos next week. Track the results.
Summary: Section 4 shows where AI photos matter most: delivery apps, QR menus, Google, social, and catering. It offers a table of quick wins. It shows how to track basic metrics like clicks and orders using small A/B tests.
5. Build a Repeatable AI Visual System, Not One-Off Magic
A single refresh helps. A simple system keeps your menu photos strong as dishes, seasons, and staff change.
Think of AI food photography for small restaurants as a weekly habit that grows. It’s not a one-time project.
Elements of a Sustainable AI Food Visual System
- Capture standards. Pick default angles and plate distance. Choose your window or light source.
- Prompt library. Save 3-5 Yummify presets per concept (e.g., brunch, late night, catering).
- Brand kit. List go-to surfaces, plate colors, linens, and brand colors.
- Performance triggers. Set rules for updates (CTR drops, new recipes, or reviews like “didn’t look like the photo”).
- Team roles. Define who captures, uploads, and approves. Example: server captures, manager reviews each Sunday.
- Test schedule. Run a small A/B test monthly on a thumbnail or hero image.
This approach matches what Gartner advises for AI in marketing: clear processes, owners, and metrics (see their guide).
How Yummify fits into your ongoing routine
A practical monthly rhythm could look like this:
- Weekly: Capture new specials or changed items. Run them through your Yummify preset.
- Monthly: Check item-level performance. Swap in a new AI version for photos that underperform. For help linking images to revenue, see Close the Loop: Tie Food Imagery to Analytics and Sales.
- Seasonally: Use your playbook to create visuals for holidays or events. Seasonal Campaigns in Hours: AI Food Styling Playbooks covers this in depth.
When you document what works for AI food photography for small restaurants, you build a visual system that scales. Any new manager can learn it in a day.
Skim checklist: start your photo playbook today
- Create a one-page doc called “AI Photo Playbook - [Restaurant Name].”
- Add your capture spot, angles, and Yummify presets.
- Paste in before/after examples with performance notes.
- Schedule 30 minutes each month to update it.
Next: Encourage the reader to start a simple one-page ‘AI photo playbook’ document today and add to it each time they run a new photo workflow.
Summary: Section 5 shifts the mindset from a one-time photo refresh to a sustainable AI visual system. It outlines key elements of a photo playbook. It proposes a simple weekly-monthly-seasonal rhythm. It encourages operators to start documenting what works today.
Next steps
AI food photography doesn’t need a studio budget or an extra day off the line. If you can spare 20 minutes with a window and a smartphone, you can start.
Pick one hero dish, capture 3 quick angles, and upload them to Yummify. Apply a branded environment, generate 2-3 honest variations, then swap the new photo into a single channel-your top delivery app or QR menu-and watch the numbers for two weeks. From there, turn what works into a simple one-page playbook so every future menu change, seasonal special, or new location can get the same quality of visuals in hours, not weeks.
For example, most owners see their first measurable results within one week. Track this by comparing click-through rates. Check your rates before and after the photo change in your delivery app dashboard. Also, try testing two different versions of the same dish photo. Rotate them every few days to see which style drives more orders from hungry customers scanning the menu.
In practice, document your best-performing angles and lighting setups in a simple note. Build this reference sheet over time. Every new staff member can then replicate your winning food photo routine without extra training. Also, schedule a weekly photo review with your team. Discuss which images performed best. Use these insights to refine your AI food photography for small restaurants approach consistently across all locations.
FAQ
Can I really rely on AI-enhanced photos if my restaurant has low light and a tiny prep space?
Yes—as long as you have even a small patch of decent light. Designate one “photo spot” near a window or door, and always shoot there with your phone. Yummify then corrects white balance, brightens the dish, and cleans up the background in a few clicks. This aligns with the DoorDash food photography guide, which emphasizes light over fancy gear. If you truly have no natural light, a small LED panel near your designated spot plus AI cleanup still works.
Where is the line between acceptable AI enhancement and deceptive food imagery for delivery apps?
Enhance when fixing the photo—light, color, clutter—not changing the food itself. Don’t add ingredients you don’t serve. Don’t make portions noticeably larger or show garnishes that won’t reliably appear. Most delivery platforms emphasize that photos should accurately represent menu items. Use this test: if a regular guest would feel misled comparing the image to what they receive, you’ve gone too far. Yummify helps by letting you lock in safe presets focused on lighting and background, not recipe changes.
Do I still need a professional photographer if I start using AI workflows?
Often, yes-but for different reasons than before. A practical model is to use Yummify for volume work. Use it for menus, delivery apps, QR menus, and social posts. Bring in a photographer for occasional high-stakes hero shoots, like a brand campaign or website re-launch. Traditional shoots still excel when you need extremely specific prop styling, staff portraits, or large print work. AI food photography for small restaurants works best when integrated with your overall strategy rather than replacing professional work entirely.
How do I know if my new AI photos are actually increasing orders and not just looking nicer?
Track a few numbers before and after the photo change. Look at impressions vs clicks (click-through rate). Check how often a viewed item gets added to cart on your delivery dashboard. Run one change at a time, give it at least one to two weeks, and keep any photo that beats your old baseline. For more structure, build simple A/B tests and log results in a spreadsheet so future decisions are based on real performance, not guesswork.
Will AI-generated food photos hurt my brand if guests see slightly different plating or props in-person?
Minor styling differences like napkin color or background are usually fine as long as the food itself matches. Guests care most about portion size, ingredients, and overall feel—if those are consistent, small styling changes won’t damage trust. The risk comes when AI adds elements your team can’t deliver, like extra toppings, elaborate garnishes, or a more upscale setting than your concept. Create a visual brand kit with repeatable props that resemble your real service-ware. If your staff can recreate 90% of what’s shown on a busy night, you’re safe.
Is it safe to upload guest photos or UGC into AI tools as part of my visual workflow?
Only upload guest photos you have explicit permission to use in marketing. Get this via direct consent or clear UGC terms in your promotions. Avoid uploading images that show people’s faces, kids, or anything sensitive into AI tools. Stick to close crops of the food itself. When in doubt, rely on your own captures for AI workflows and use UGC mainly as social proof in feeds and stories. Have legal or compliance review your UGC policy periodically as AI usage and privacy expectations evolve.
Related posts

15 Creative Food Photography Ideas to Make Your Dishes Stand Out
Discover creative food photography ideas to make your dishes stand out. Learn action shots, deconstructed dishes, unique angles, storytelling, and AI tools for stunning food visuals.

Beyond Burgers: AI Food Styling for Diets and Cuisines
Use AI food styling to create accurate vegan, gluten-free, halal, kosher, and global cuisine photos that convert across delivery apps, QR menus, and social.

Close the Loop: Tie Food Imagery to Analytics and Sales
Stop guessing which food photos work. Learn a simple workflow to tie Yummify images to analytics, A/B test visuals, and promote only the photos that actually sell.